
To Work For Free or Nah?
People begin the freelance journey from different points. Some start with a few side projects related to their field, and then others are completely self-taught.
We are an emerging demographic. Our legitimized educational and professional experiences are not necessarily directly tied to our freelancing careers. It does not mean that we are less qualified, we’ve just been on a different path.
In this process of becoming a professional freelancer, you find yourself needing to build your clientele. One of the most common ways to do this is through freelancing for free, and/or whether you should do work for free. It is a matter of opinion, after all, you are the one living with the work.
In the beginning, I have worked for free. I've helped friends with their sites, and I gained so much experience from it that I wouldn’t have gotten if I charged. BUT, It was miserable time for me professionally. It's exhausted and frustrating.
Your Friend is Now Your Client
If you’ve decided to do something for a friend, do all elements as you would for a customer – the same process, contracts, and client terms. Meet with your friend in a formal setting. You are not only getting experience in what you are doing, but you are also gaining experience in how you work with clients.
Full Artistic + Design Direction
I wish I implemented this when I did free work. I learned a lot from those projects, but those friends were a real challenge to work with, and some of the work I wasn’t able to show in my portfolio. They asked for design decisions that took away from the design. A couple months ago, I was listening to a podcast talk about free work, and one of the key points they brought up is design control. If the friend/customer is not paying you, they can at least sacrifice design control, aka you don’t have to make those ridiculous edits.
Obviously, some people might take advantage, and give their friend an awful design, but this advice is not for them. If you are doing really good work, and your clients website means as much to them as it does to you, then they should feel okay with this compromise.
Always Have a Contract
Just because the work is for free, does not mean you should have a contract. They are getting a project done for $0. It still should fall under similar terms and parameters. Contracts outline roles and responsibilities, and you do not want your friendship to get muddied up because things were not clear. Since you are also having a friend review your contract, you can ask them feedback on this stage of the process – how did you present it, things that were unclear, etc.
Identify When You’ll Charge for Work from the Beginning
This point is just excellent customer service. In the beginning, I didn’t communicate this well. I didn’t foresee some of the issues that would arise in projects. Since I never communicated extra charges in those projects, my policy has been to do the updates for free, but on my time. Often these changes are subtle, and both the clients and I were pleased with this process. I have made a note to communicate extra charges to customers from the get-go since.
Don’t sneak up charges on people; it’s tacky and bad custom service. I had a friend receive free work from someone. She thought it was just a mutual meeting and collaborating. Then, when the person said that she was going to charge her, my friend declined the service for personal reasons. The person unfollowed her from everything. If people decided they can’t afford to pay you – it’s not personal. Determine how you can finish the project to ensure mutual respect from both parties, keep everything cordial.
Free Work Should Not Take Over Your Life
You need to make a living. If you are still working full-time, start small. Maybe one or two projects. Don’t overextend yourself, even more; you will already be over-extending yourself.
By doing free work in the community in which I wanted to establish myself in – design – I created myself as a credible and professional resource. I am getting to the point where I am having to be serious about charging when I felt comfortable and confident. These days, I don’t do any work for free.
I definitely won’t do any work for free, and I definitely won’t swap services for anyone. My business is no longer just something starting out. If I need someone to do work for me, I pay them. Currency is definitely the best way to support another brand.
What are your thoughts on freelancing for free? What issues have you faced?

Shooting Interiors 101
Your Ultimate Guide to shooting indoor spaces!
I’ve never been a huge fan of rules—especially when it comes to creative outlets. Who is anybody to tell you what looks good? As far as I’m concerned, you gotta do you— [In My best Mama Dee voice] critics be gone! Still, this doesn’t stop people from asking me on a semi-regular basis how they can take good photos. Although I am a firm believer that there is no such thing as a “good” photo (people will have an opinion one way or the other), I do have a handful of go-to tips and tricks that I turn to, especially when in doubt. These aren’t rules per se—more guidelines that you can follow when shooting homes. The great thing about these “rules” is that they are applicable to almost any situation and level of photography, so if you happen to just be reading this and are a beginning in photography.... I think this will still come in handy. Most cameras today (whether they are top-of-the-line or bottom-shelf) come with manual settings and options for advanced shooting. To follow along with these rules, you only need three things: a camera, a tripod, and a standard photo editing software (Photoshop is hands-down the ideal, Aperture and Lightroom are also good, iPhoto? yeah, no.)

This is the golden rule when it comes to interior photography (or most other photography, for that matter). If you’re going to follow only one piece of advice from this entire write-up, make sure that it’s this one.
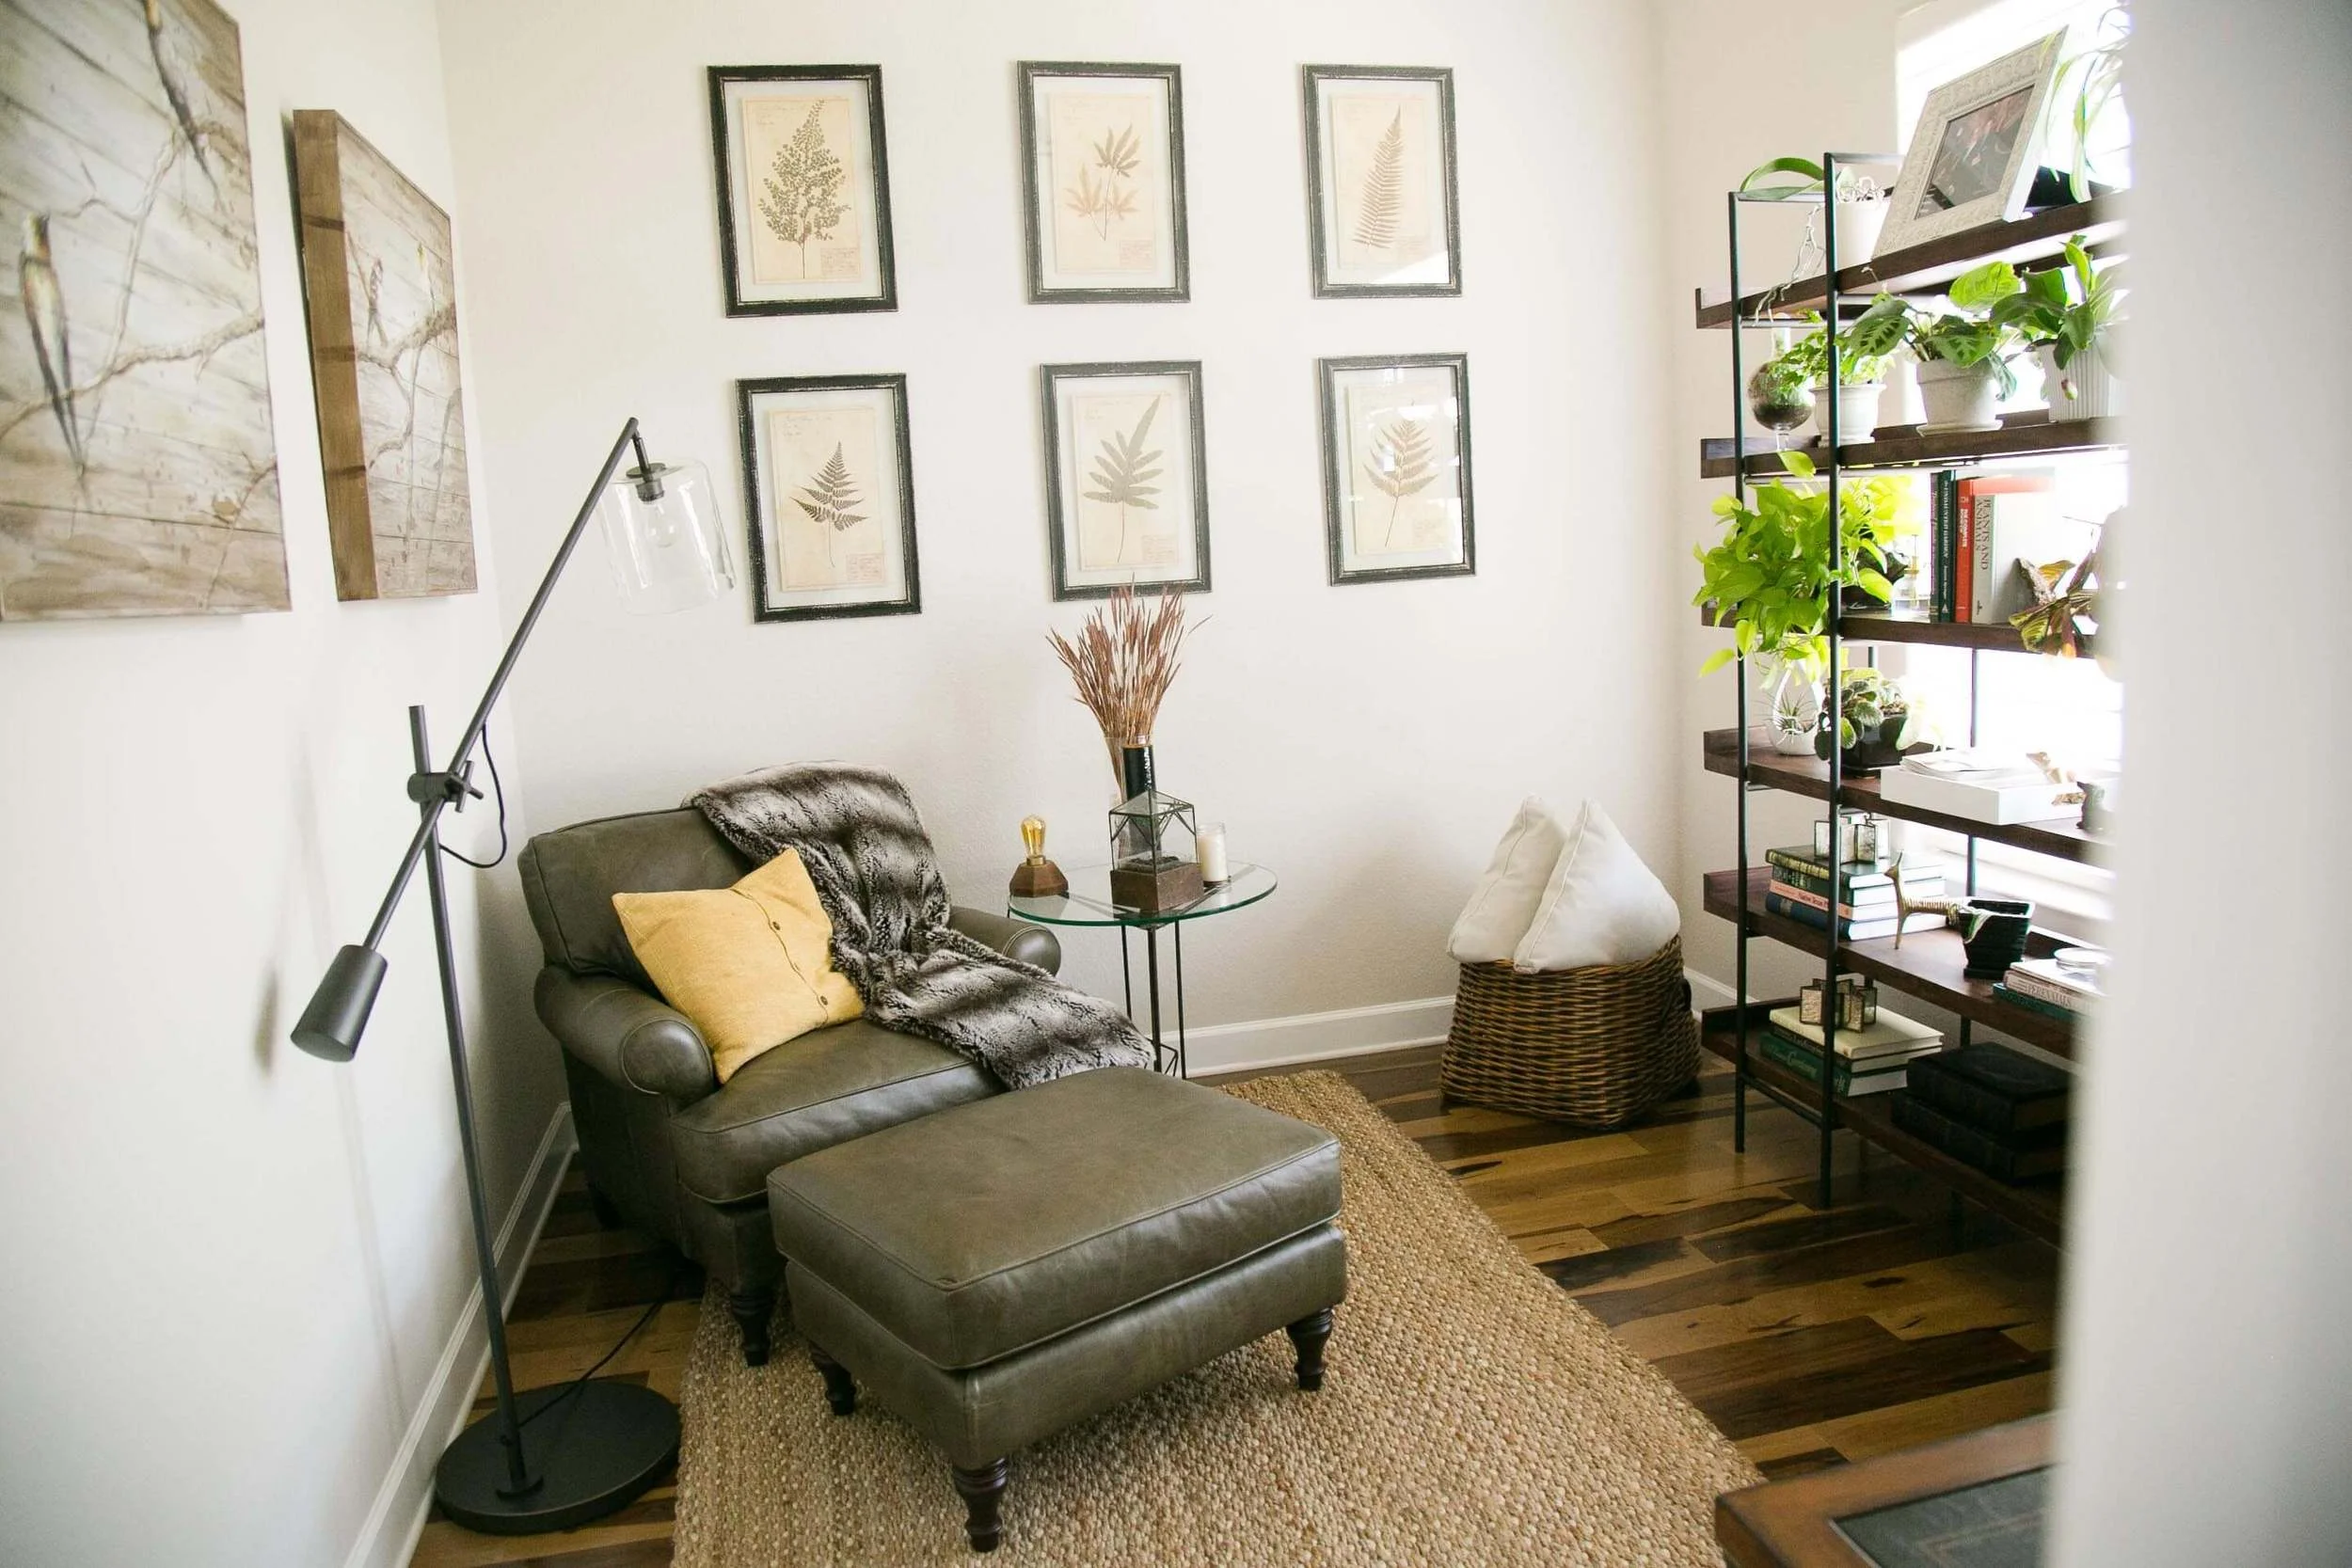
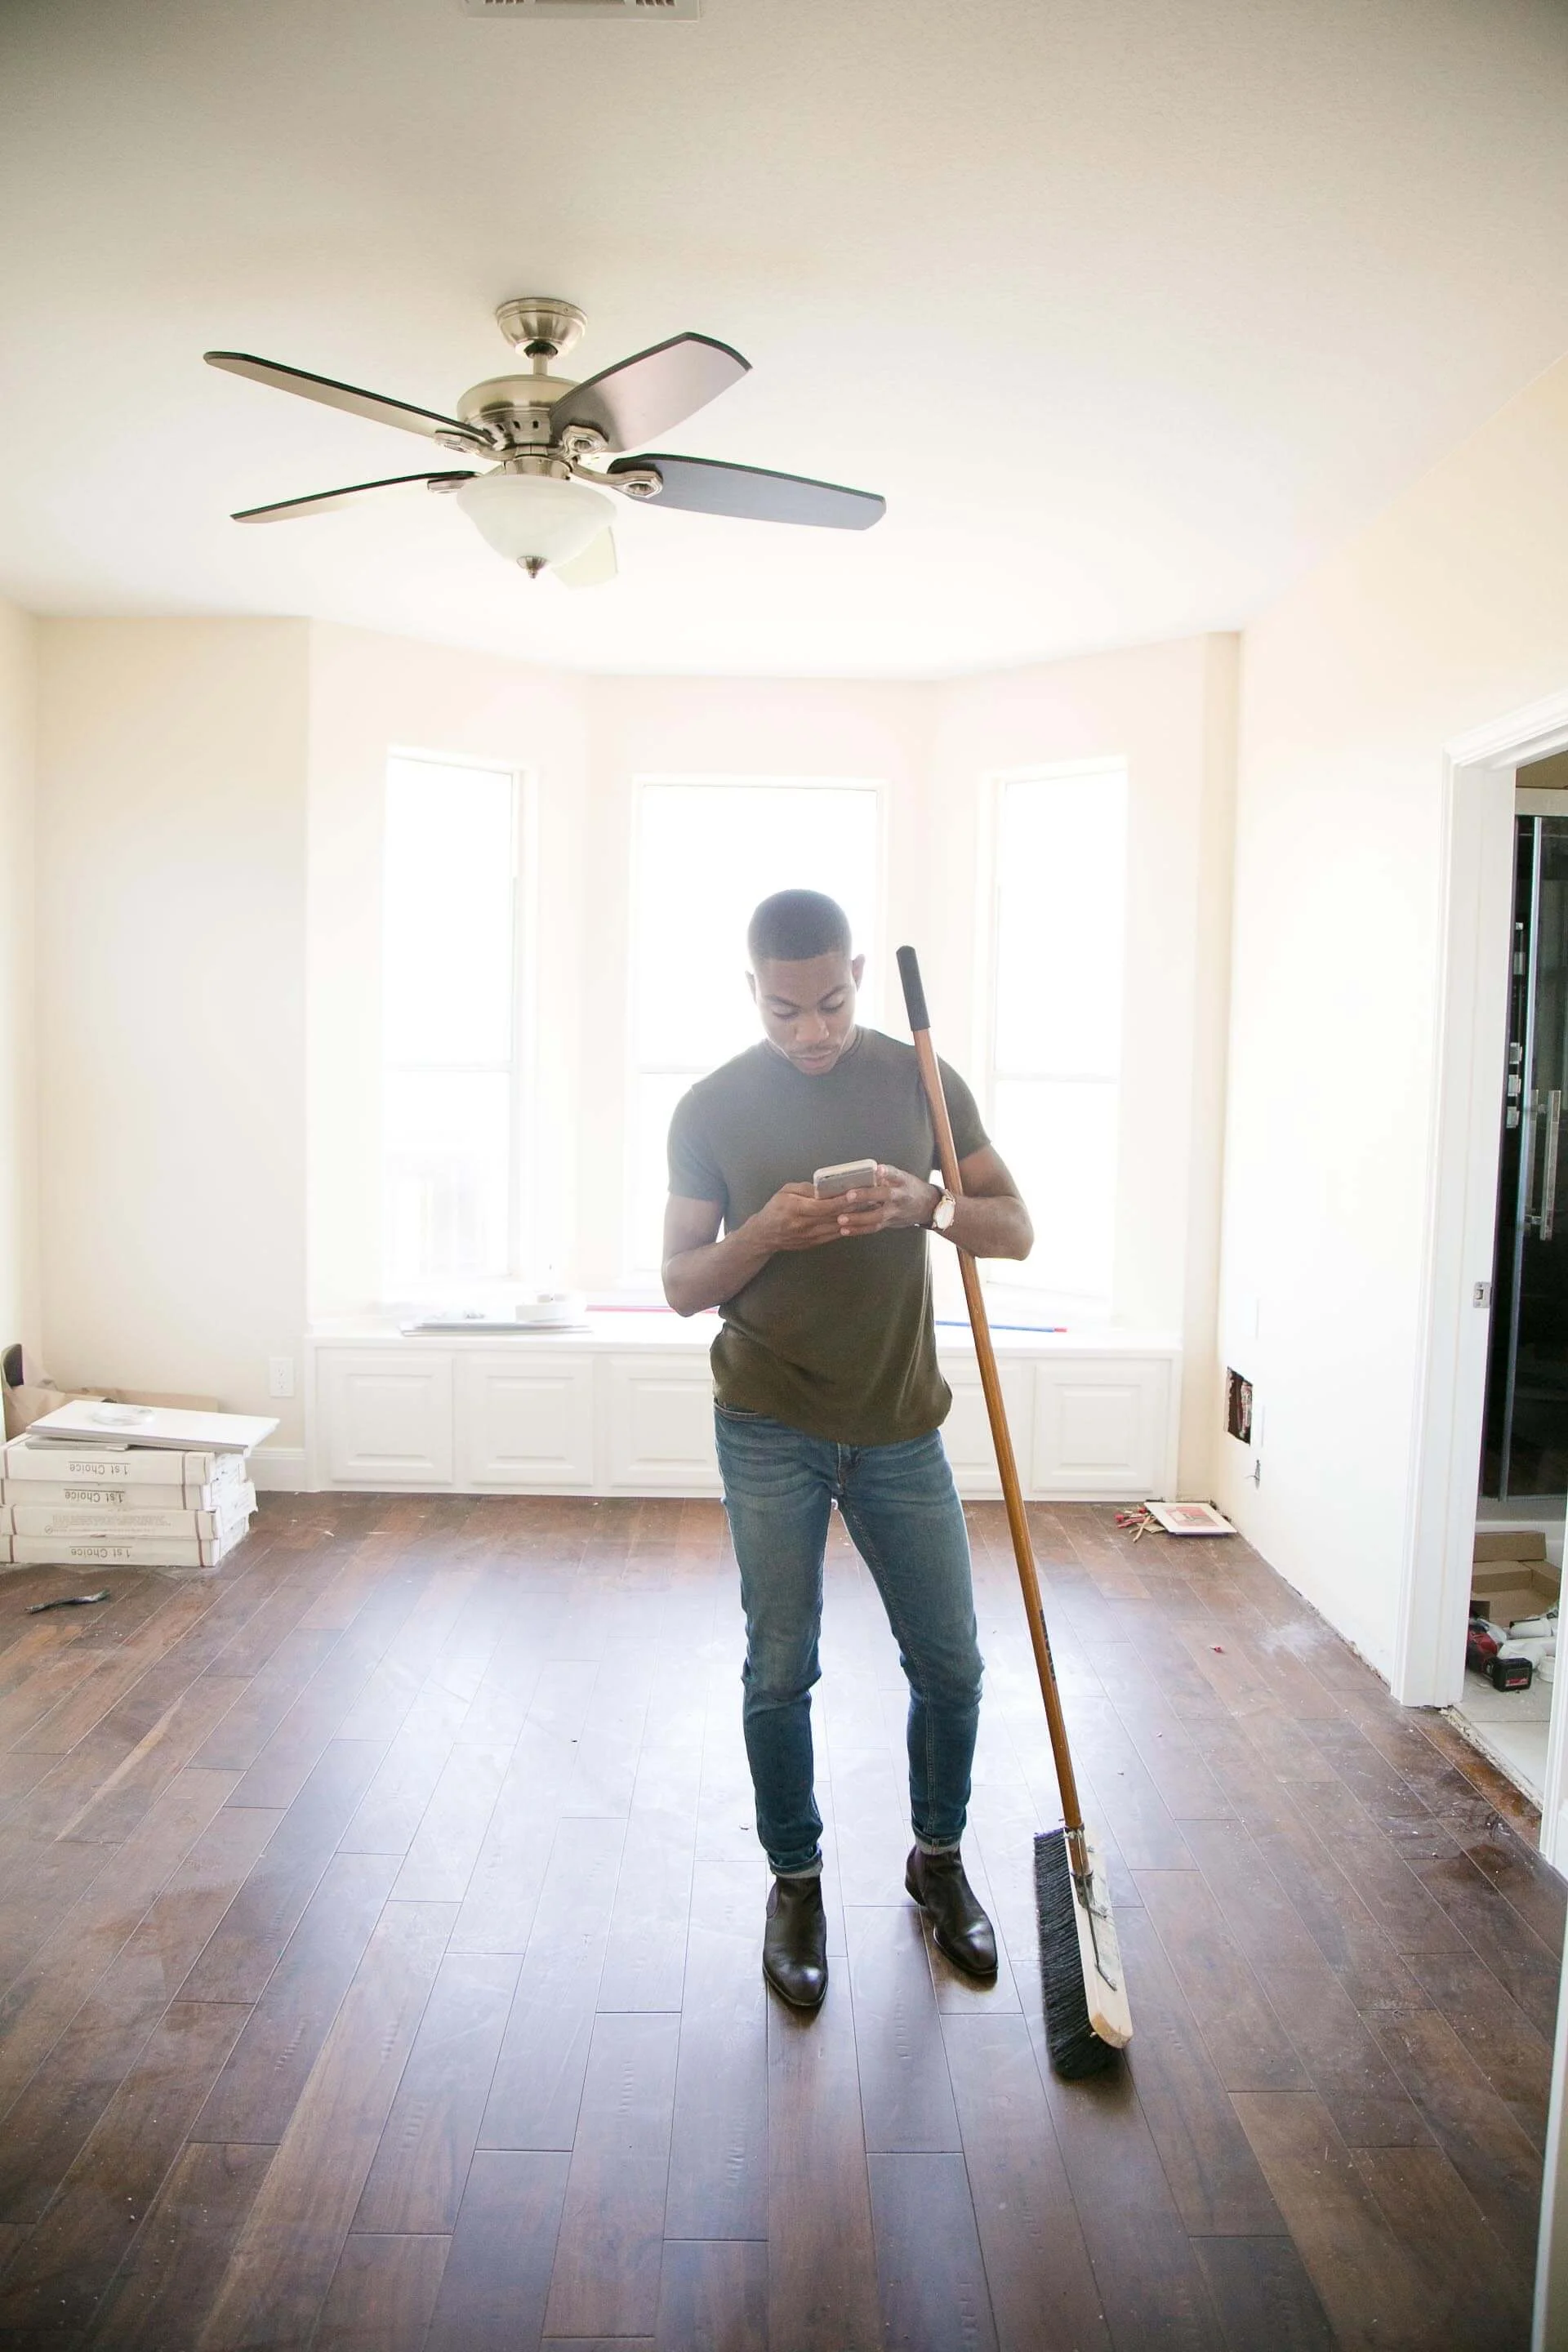
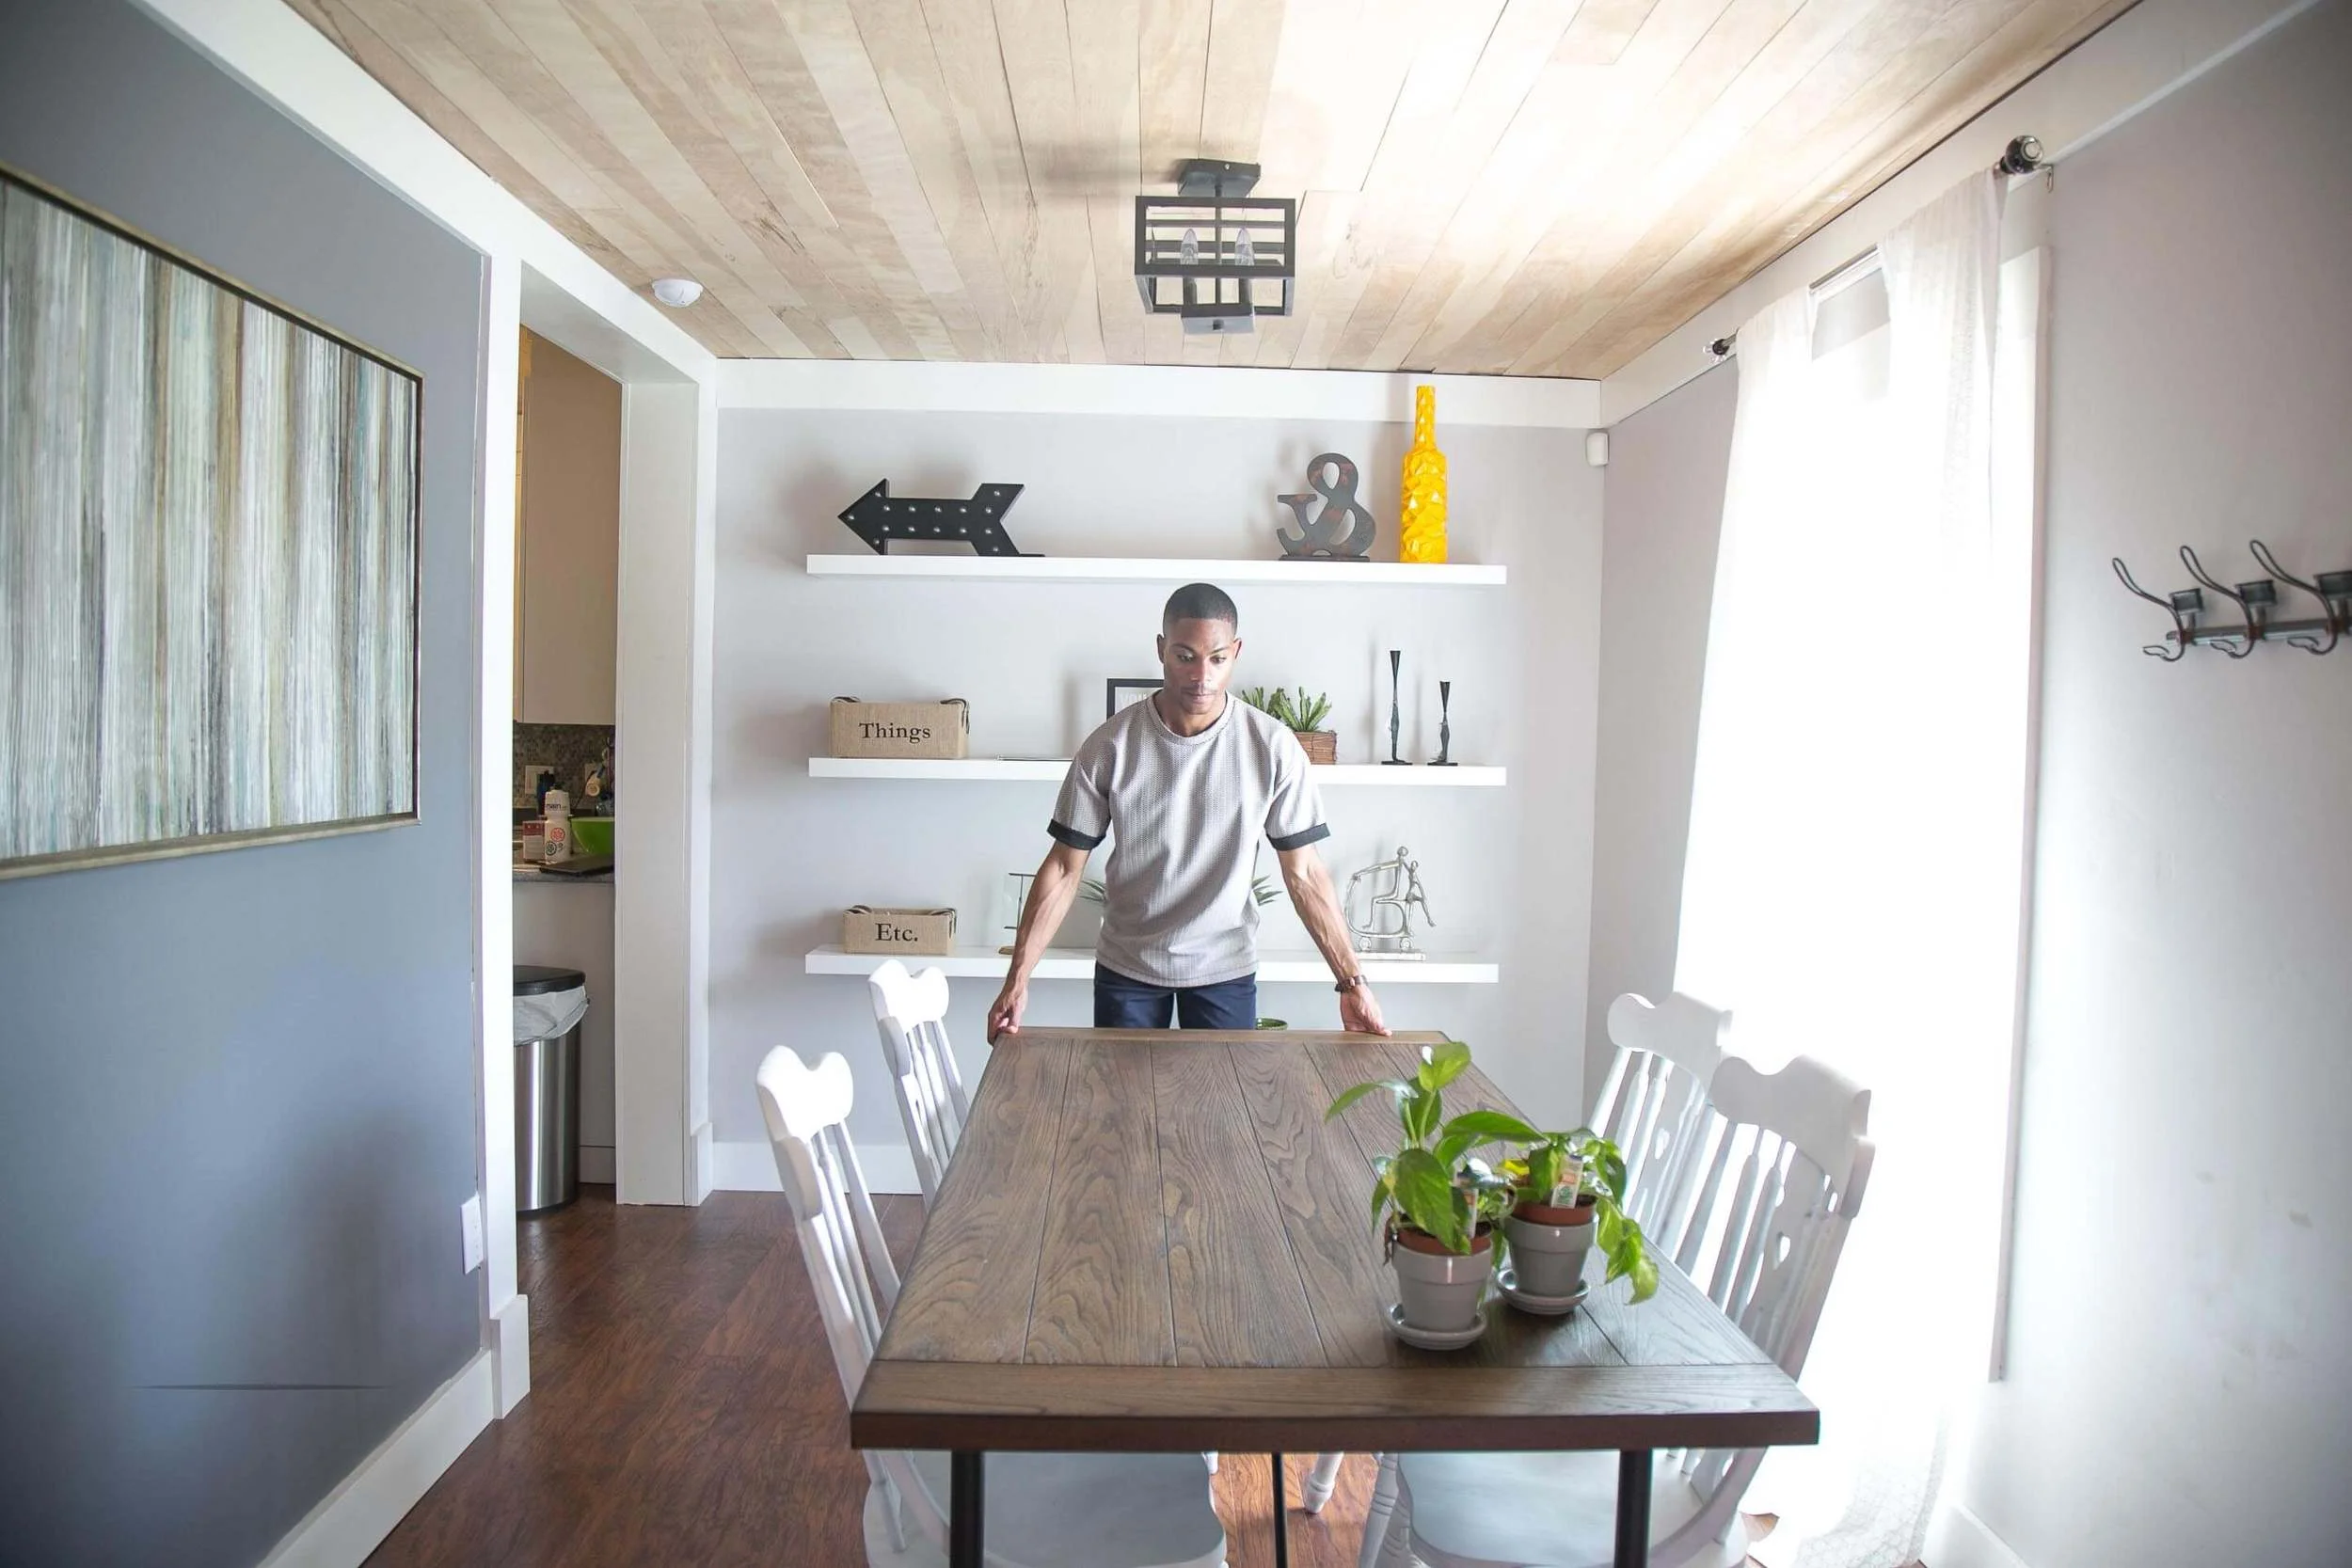
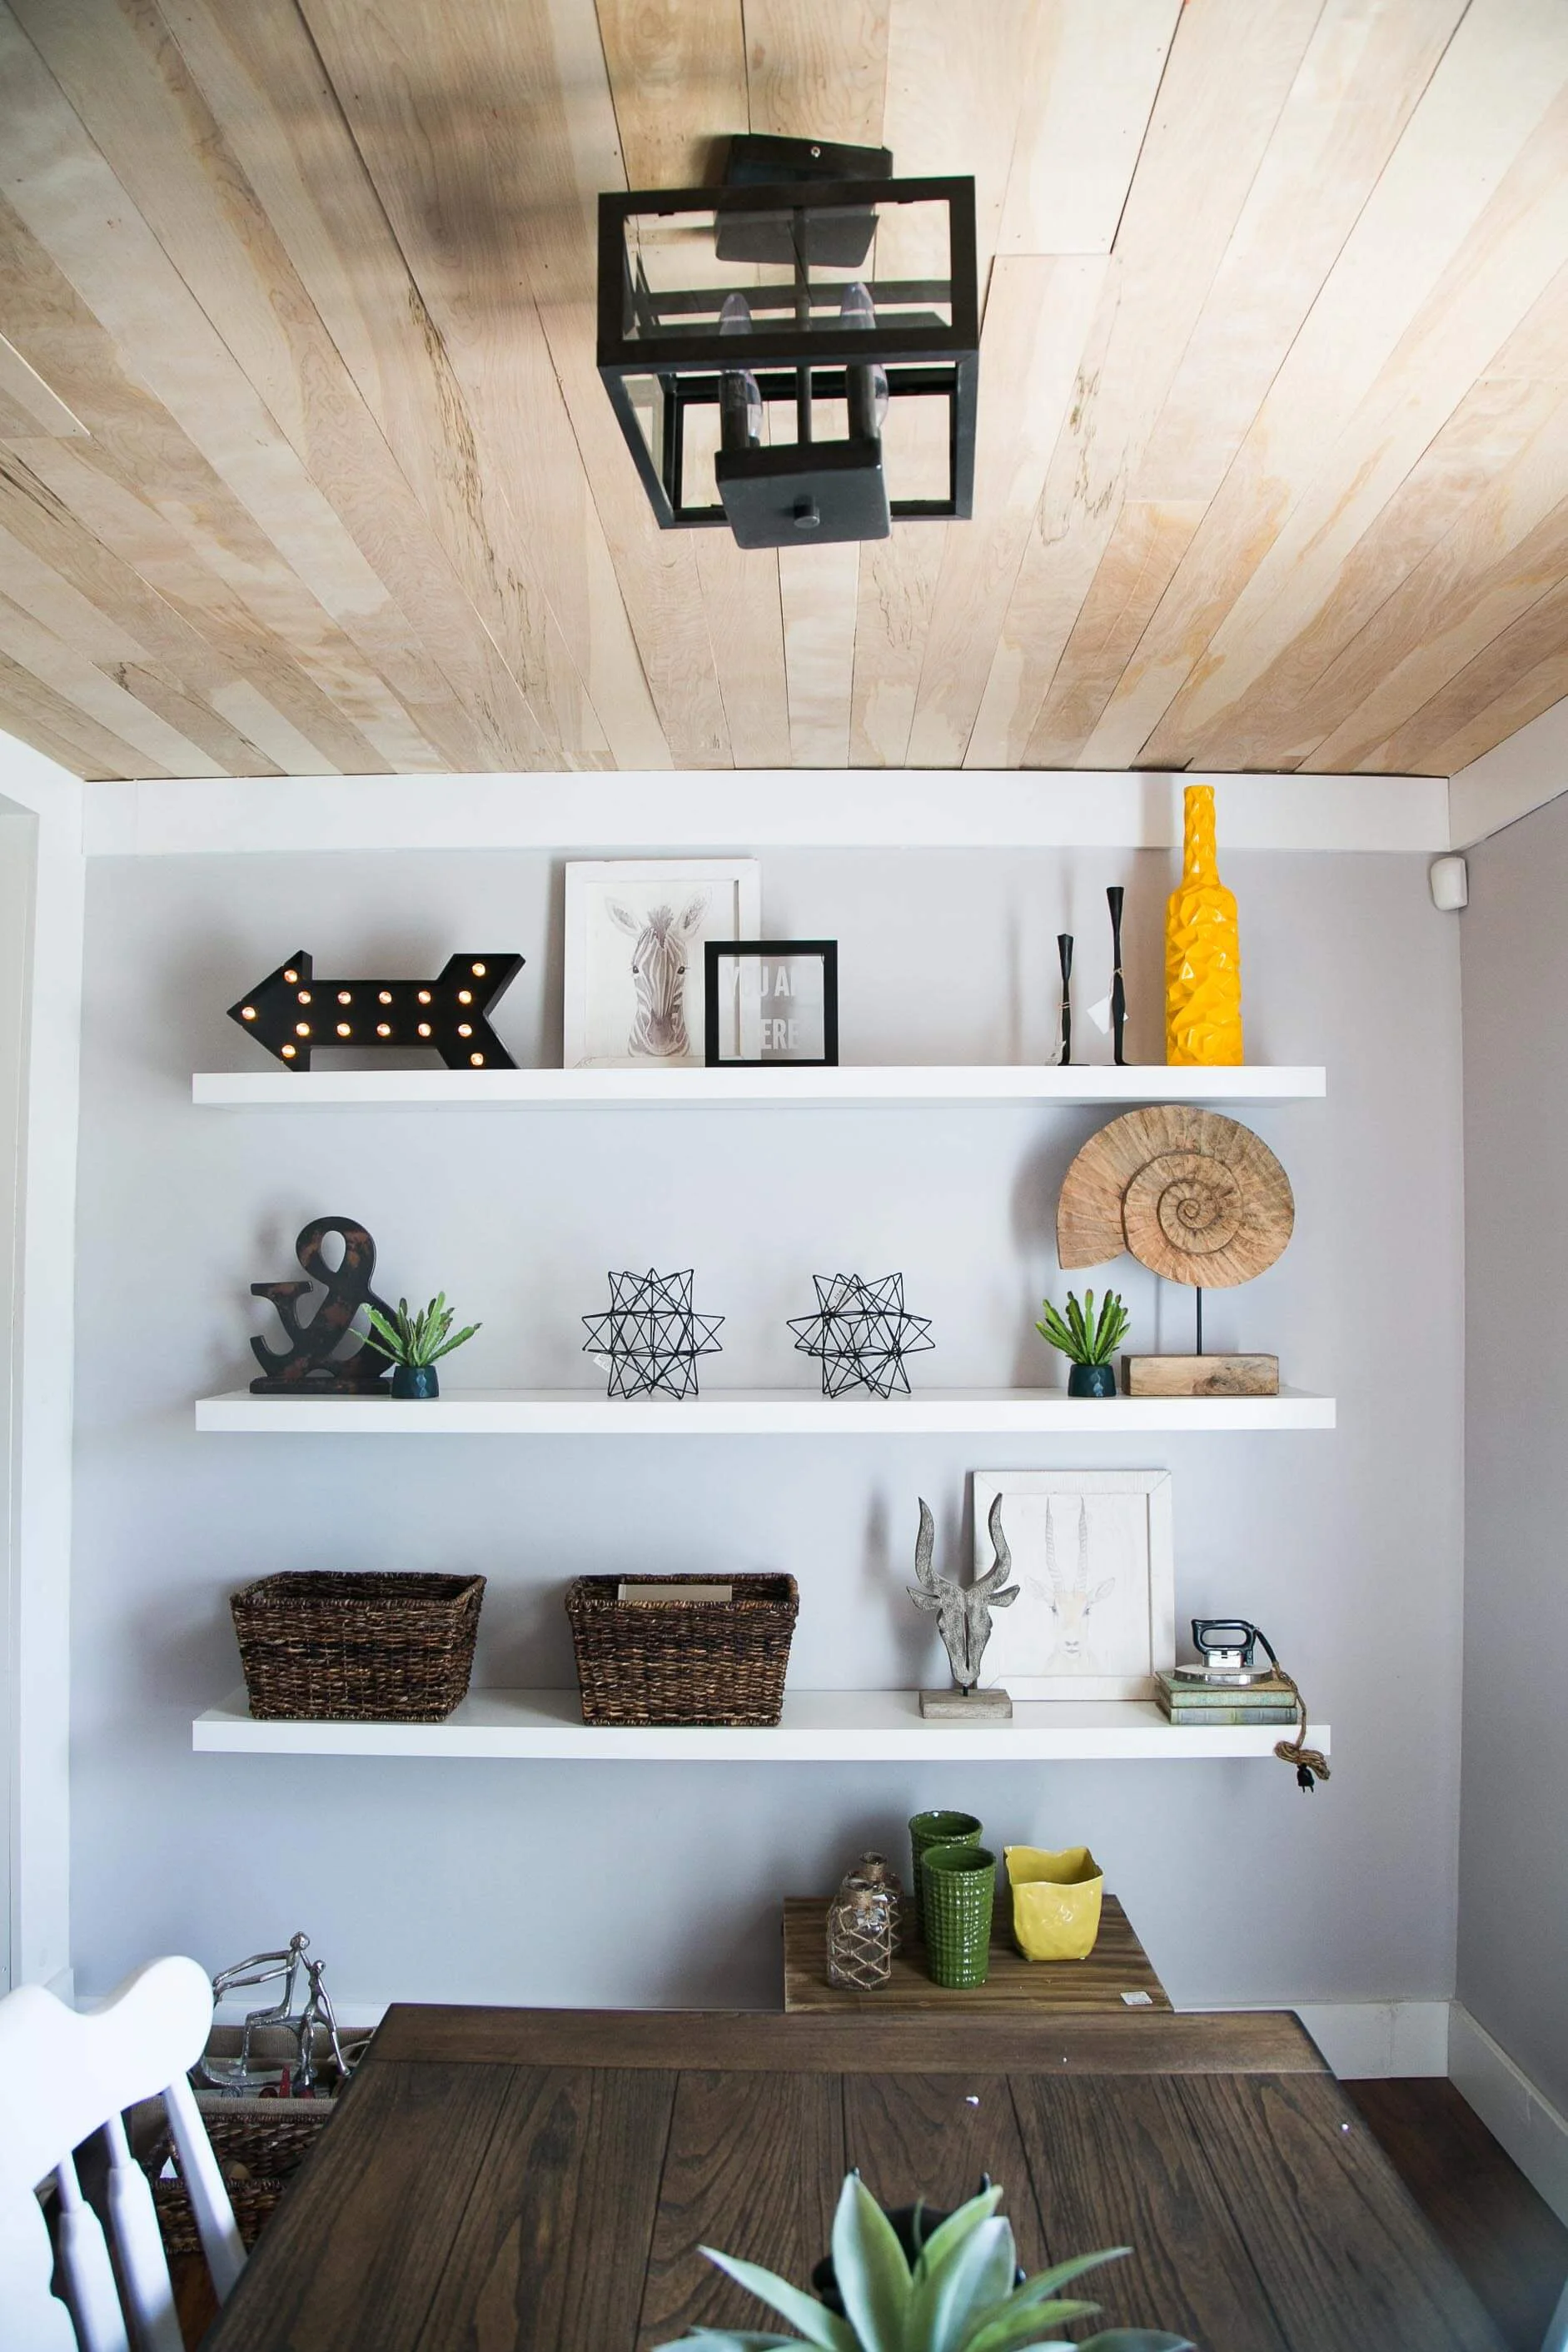
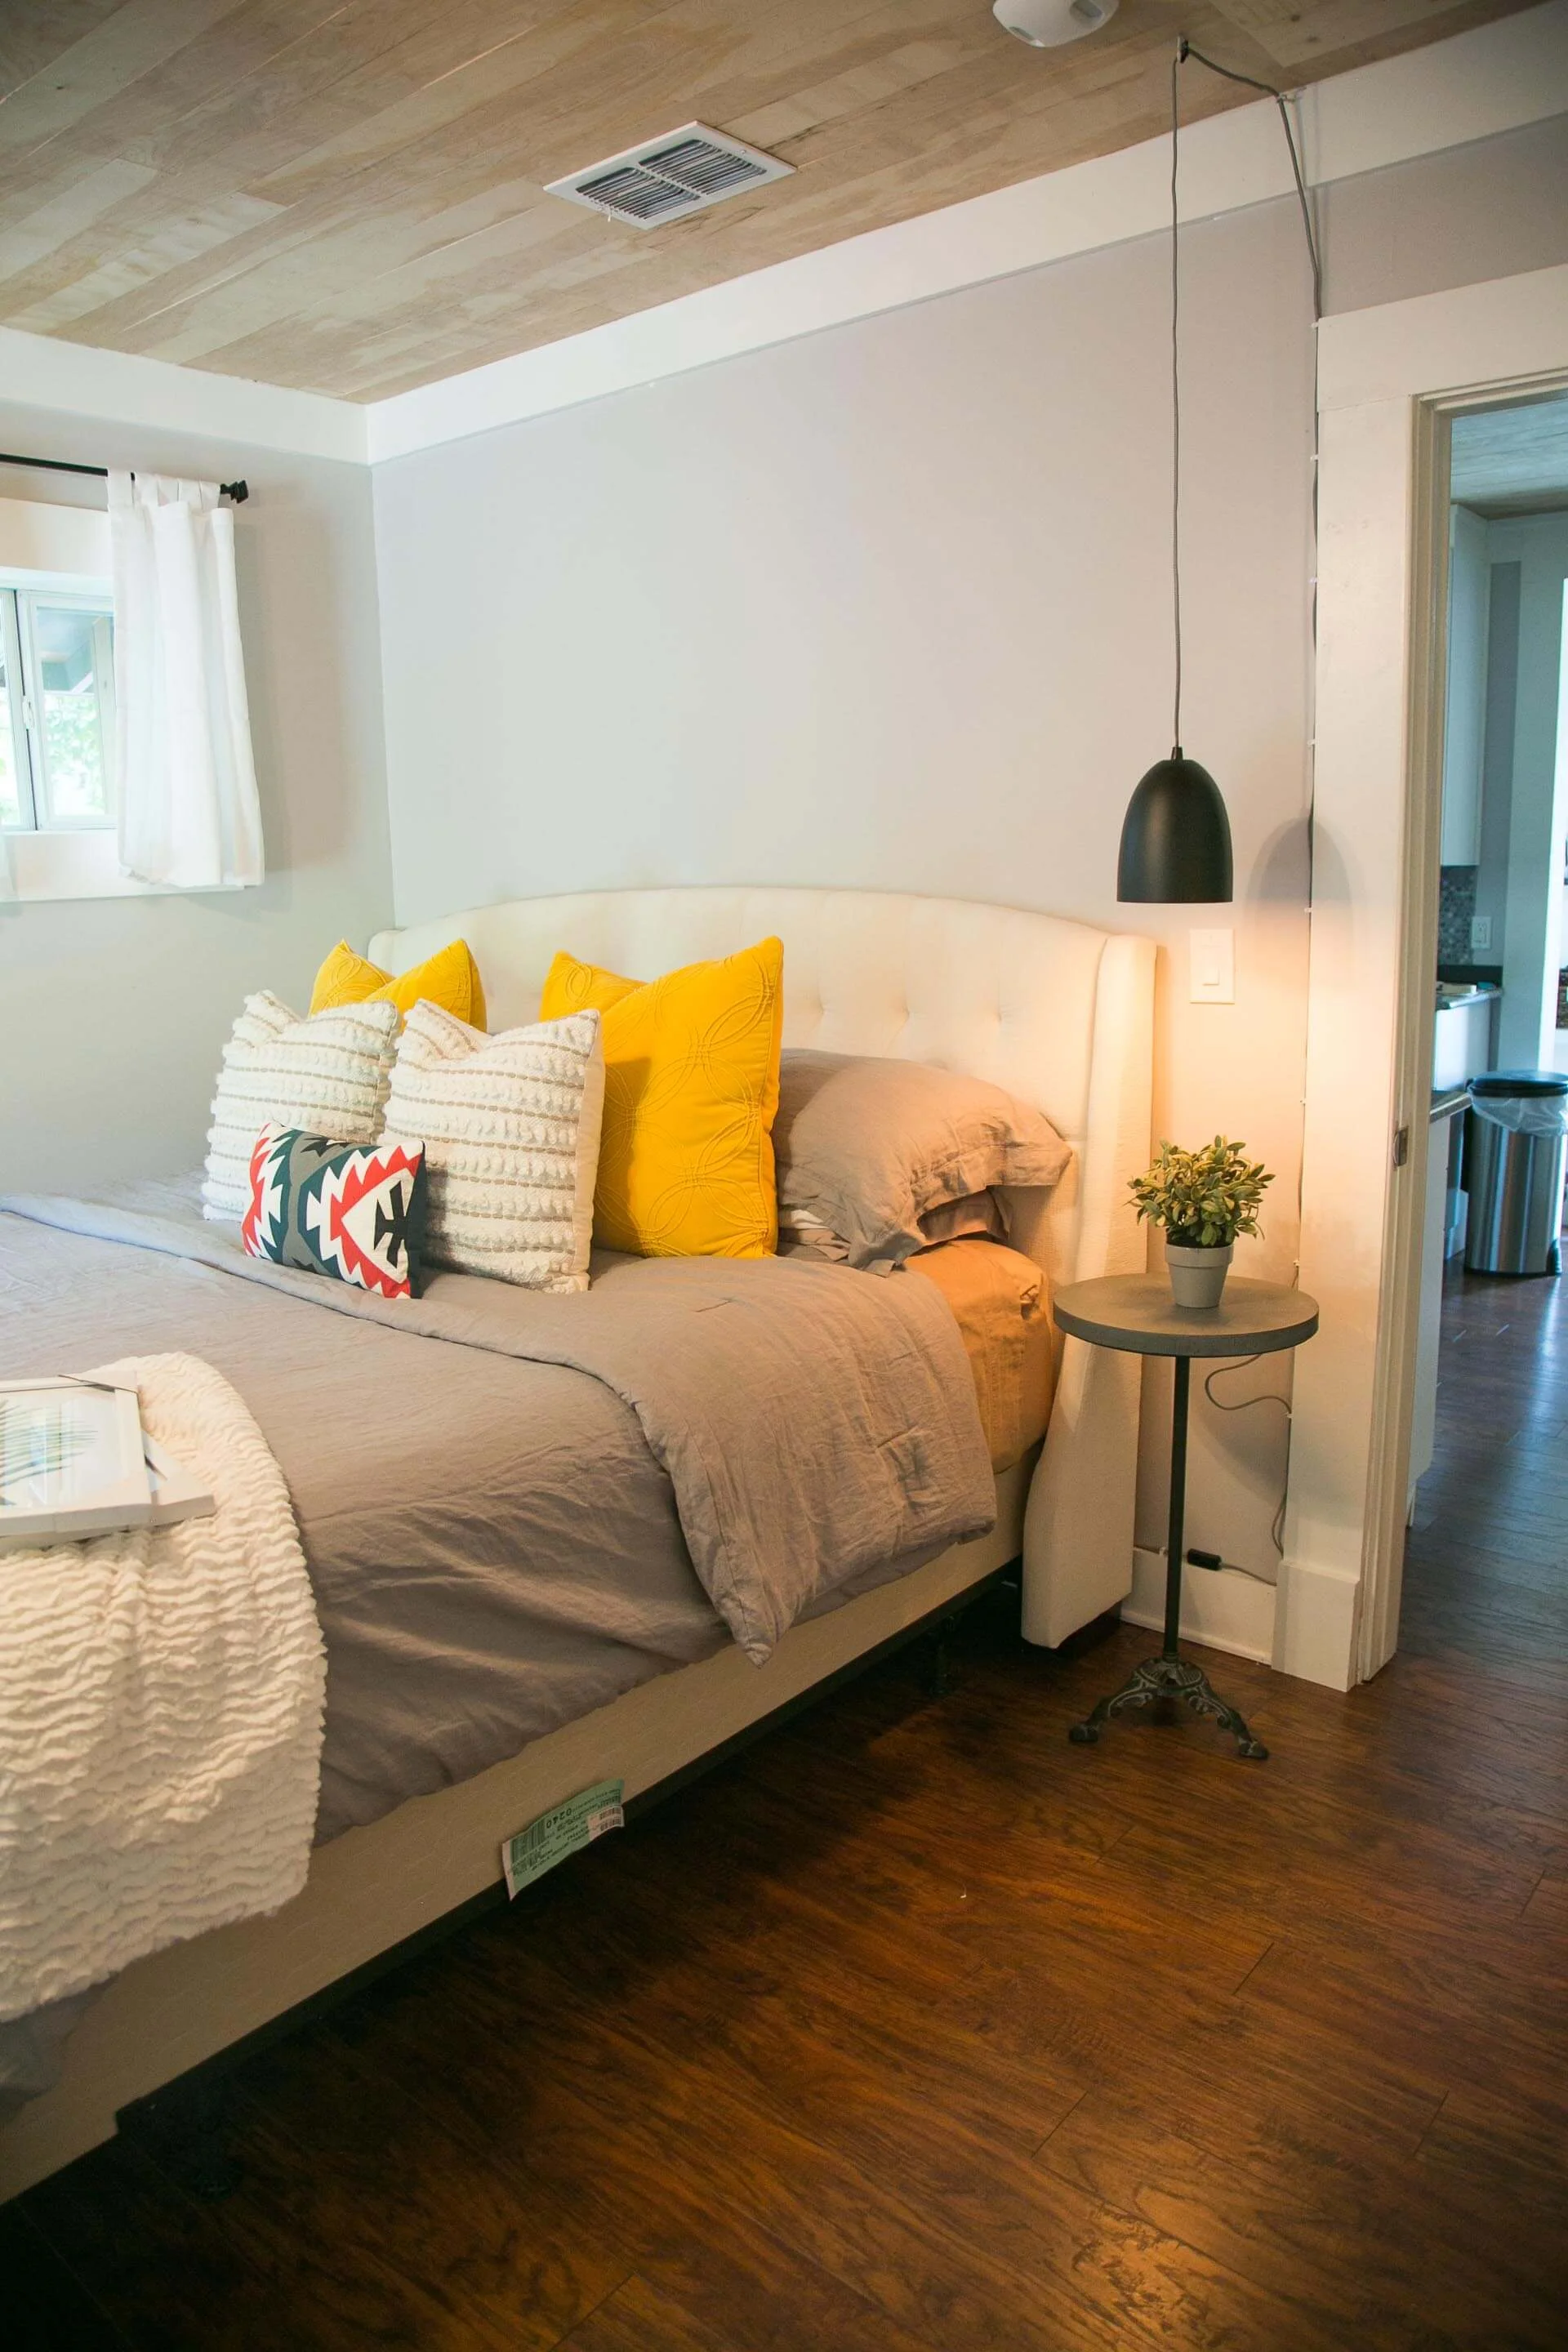
When photographing an interior, you want to make sure that all of your other lights are off. I repeat—turn ALL of your lights OFF. You might be a little bit perplexed by this rule—after all, light is a necessary part of photography. What if the light coming through your window isn’t strong enough? This is what your tripod and your camera’s shutter speed settings are for. Pop your camera onto your tripod to avoid motion blur and slowwwww down the shutter speed to allow for a long exposure. This will allow your camera to pick up whatever light there is in the room and you won’t have to resort to artificial light or, god forbid, your flash. (Sidenote: I. HATE. FLASH. PHOTOGRAPHY)
Once you begin taking interior photos exclusively with natural light, you’ll see just how much more beautiful it makes the final result. Colors will appear fresh and clean, shadows will come from more natural directions (rather than, say, above), and the chances of needing to adjust your white balance in post-production are severely diminished.
Quick note: Although natural light is by far the best light to shoot with, not all natural light is created equal. It’s best to avoid times of day when sun is shining directly into your room—this will keep certain areas from being brighter or more blown out than others. As is true with shooting outdoors, photographing on a cloudy day is actually ideal—clouds act as a natural soft box, diffusing the light and creating even, subdued shadows.

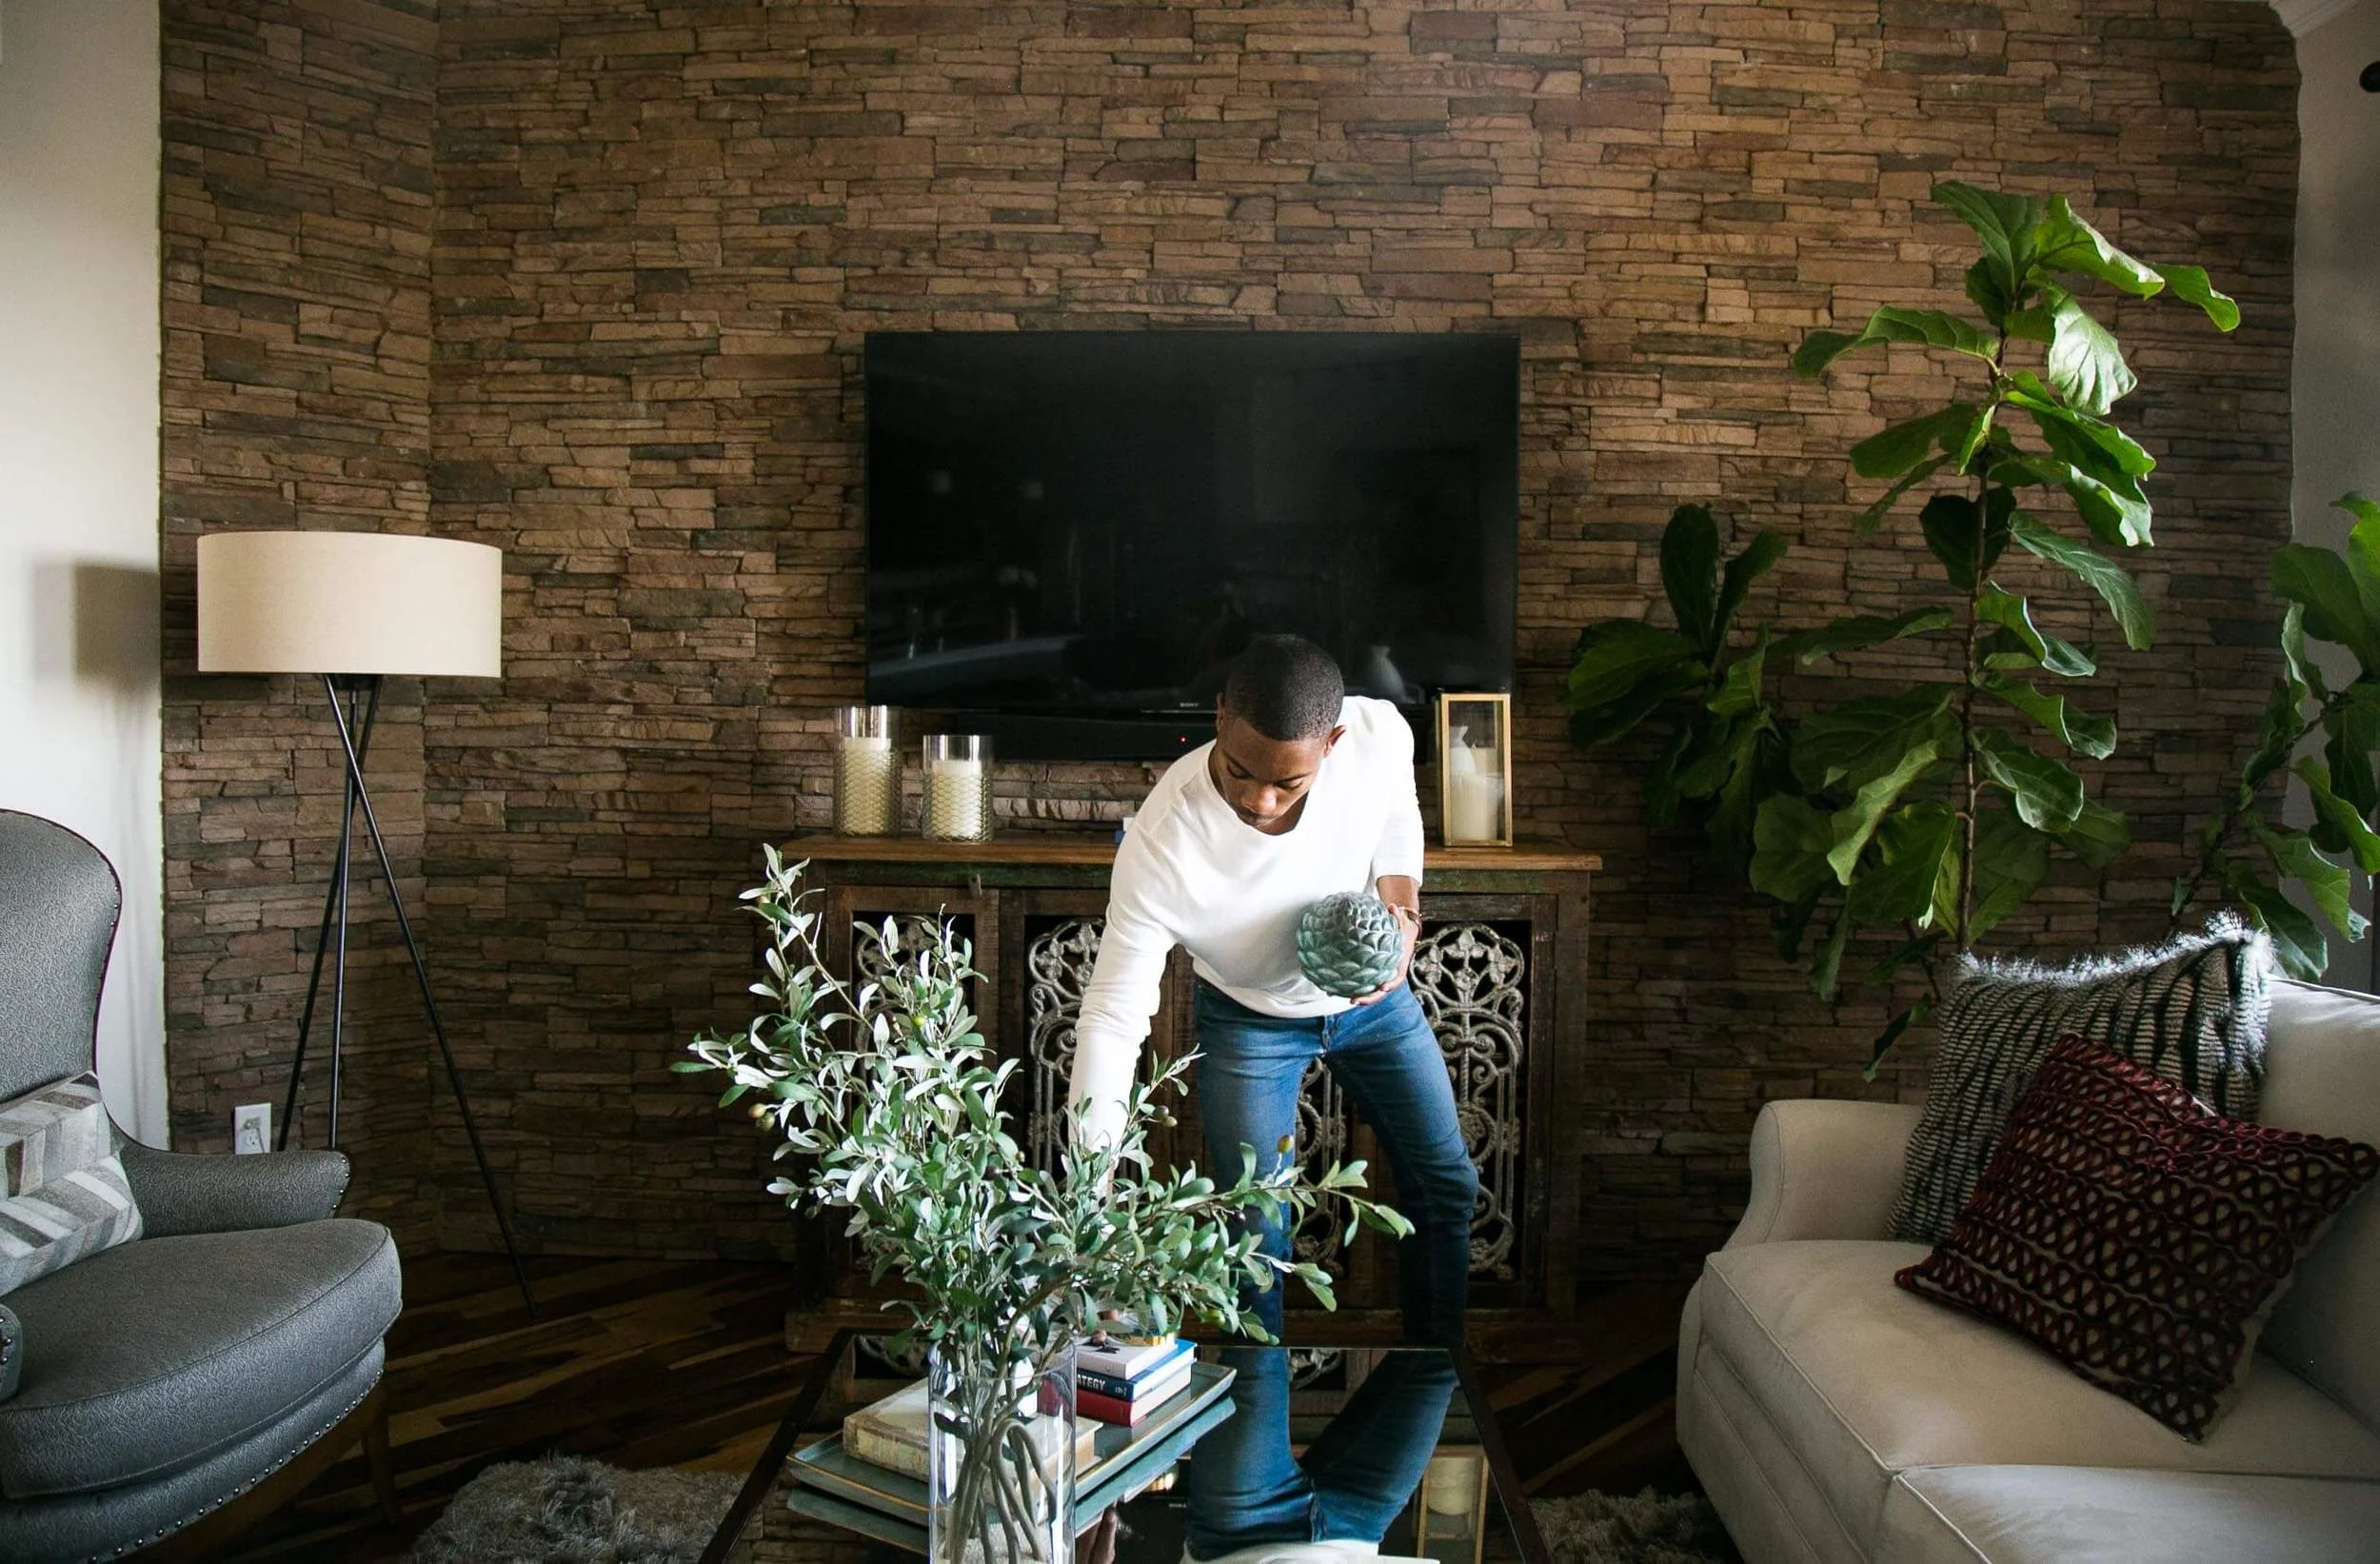
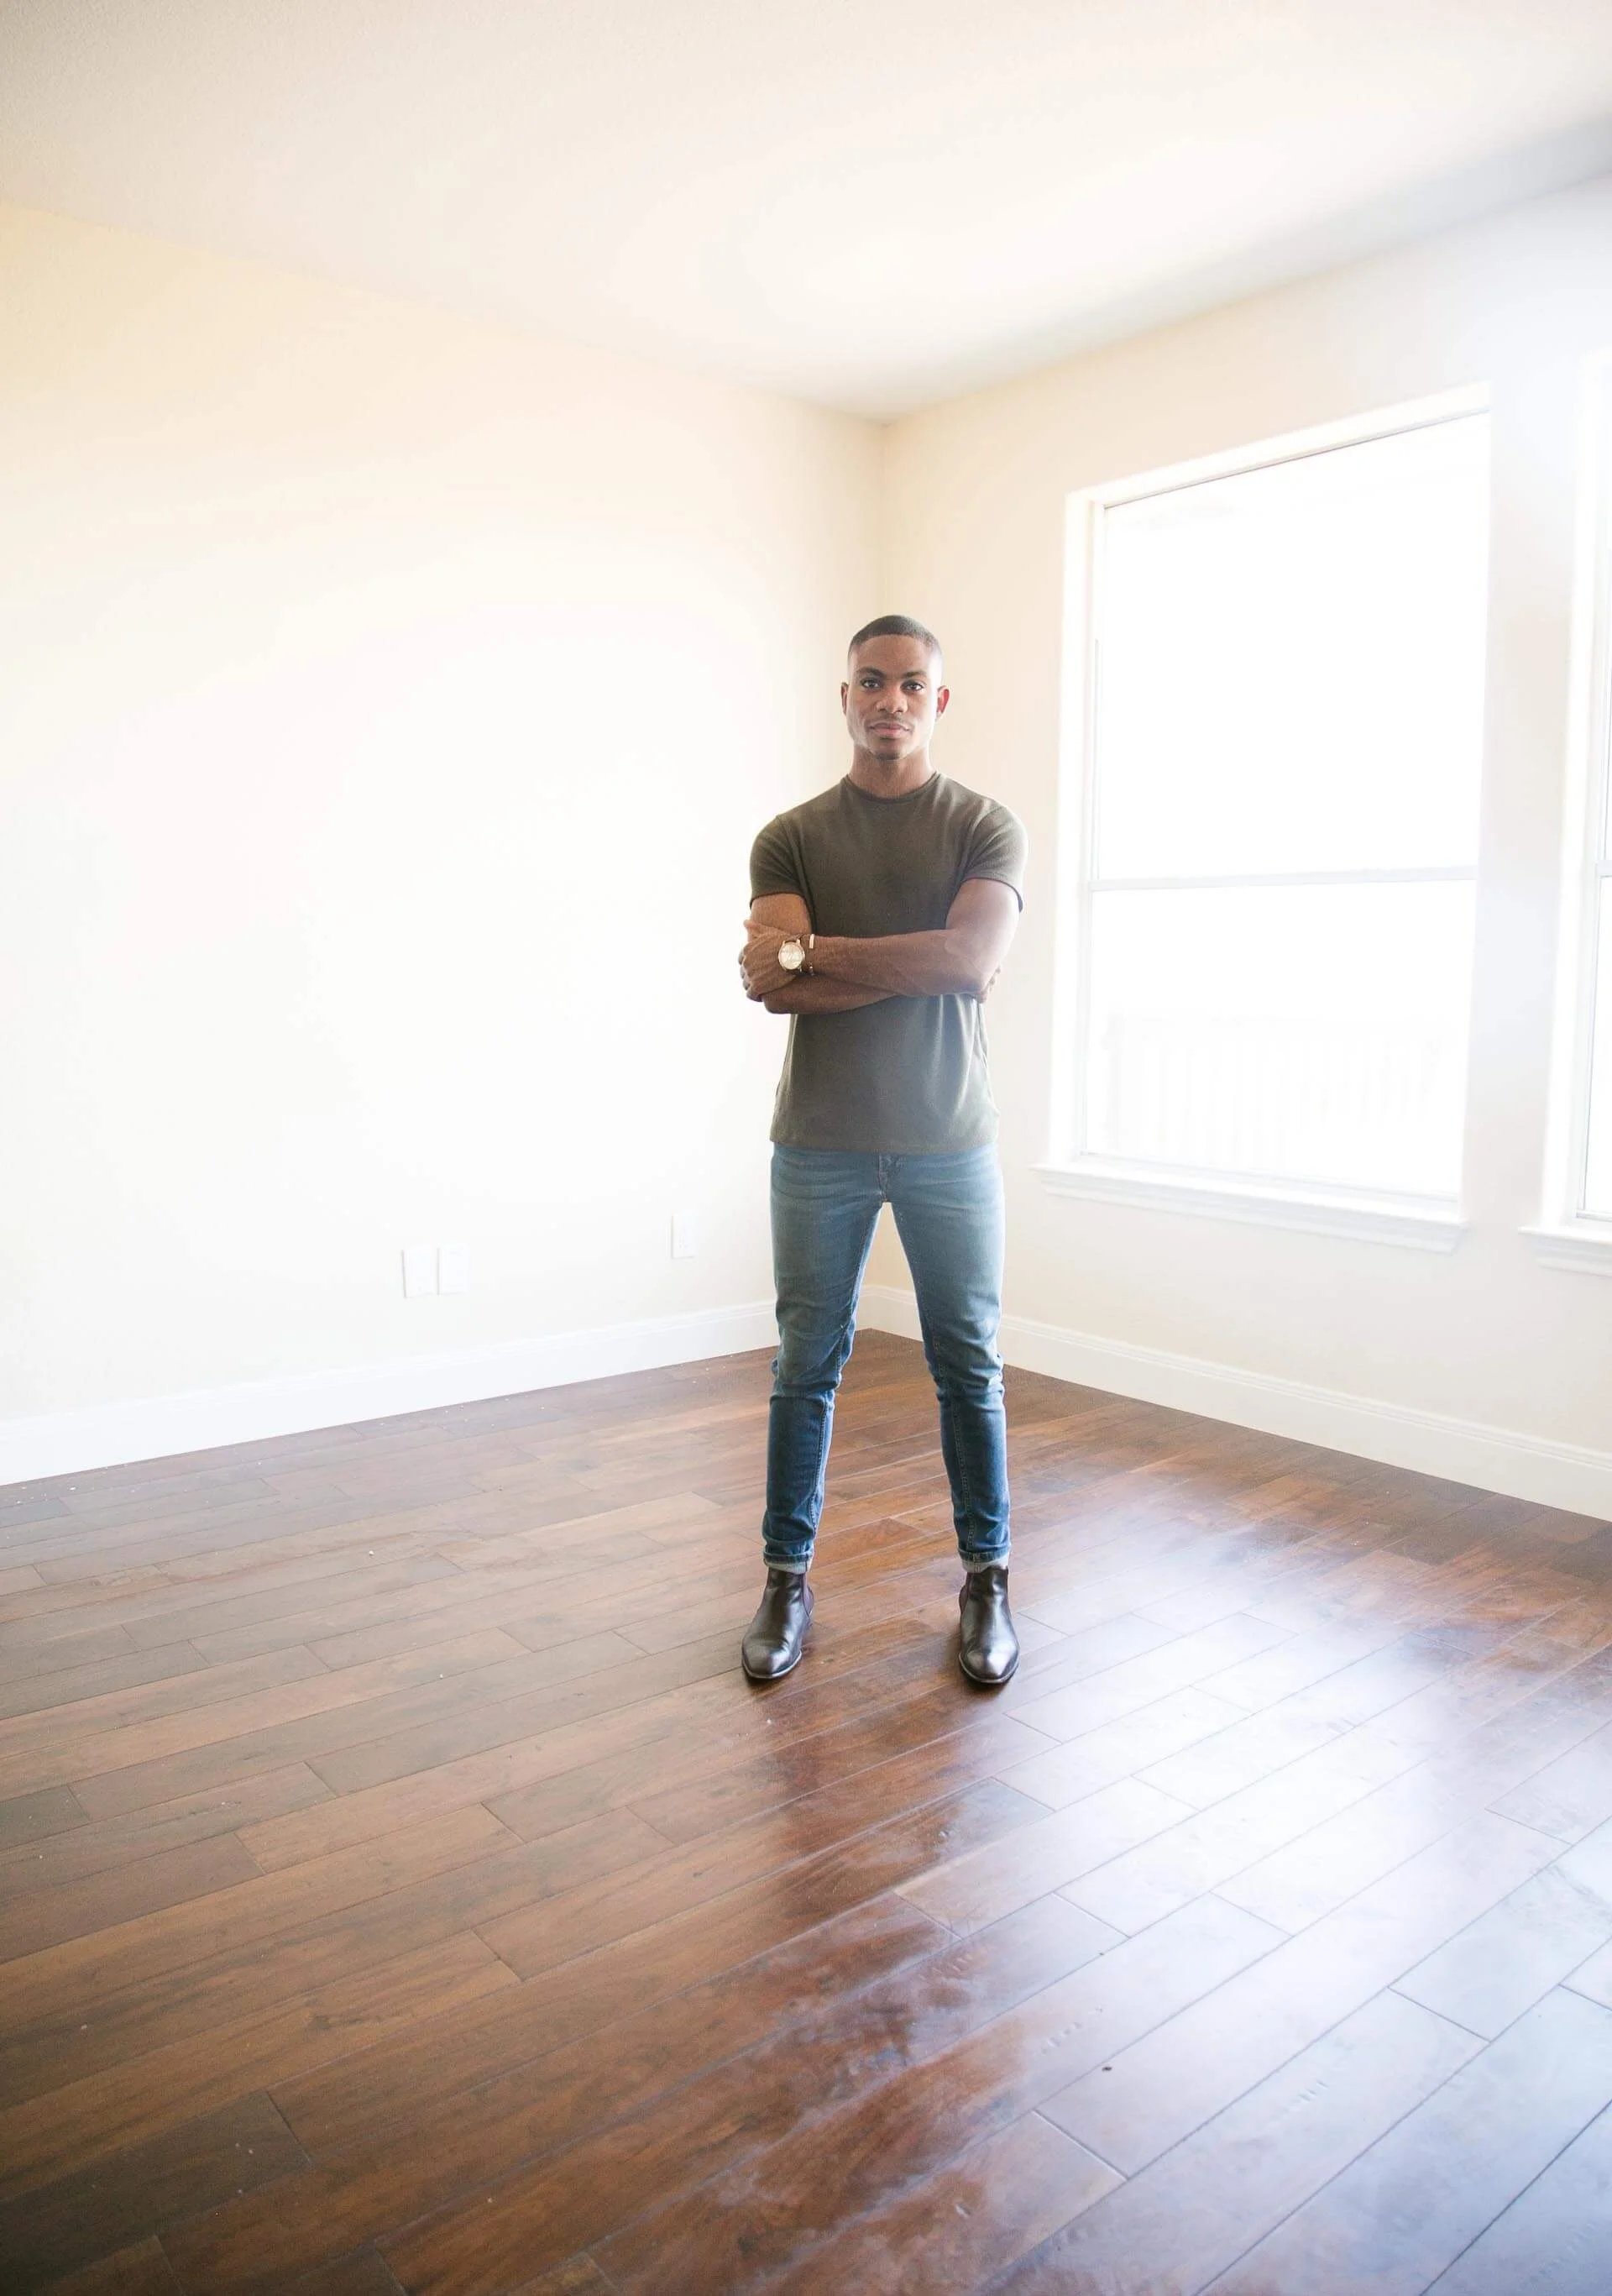
Photographed: Dillion Dorsey, James Matthew Design - Residential, Retail & Commercial Interior Designer

Most cameras today come with the ability to shoot RAW. Unlike JPEGs, which are a “lossy” file compression (meaning that they trash a lot of the photo information in order to save space), RAW files are essentially untouched photographic data. If one were to draw a parallel between digital photography and film photography, a RAW file would be akin to an unprocessed negative—it is essentially a record of light hitting the camera’s sensor and has not yet been turned into pixels.
Of the many reasons to shoot in RAW mode, one of the best is because it allows you to have the most control over your final image. RAW files preserve much more photographic information, allowing you to retrieve seemingly blown-out or underexposed areas, adjust white balance more accurately, and determine the final size of your photo.
Note: When it comes to editing RAW photos, my go-to software is Photoshop (for individual photos) and LIGHTROOM (for bulk editing)—Photoshop's built-in RAW Editor does a wonderful job and is very feature-rich.

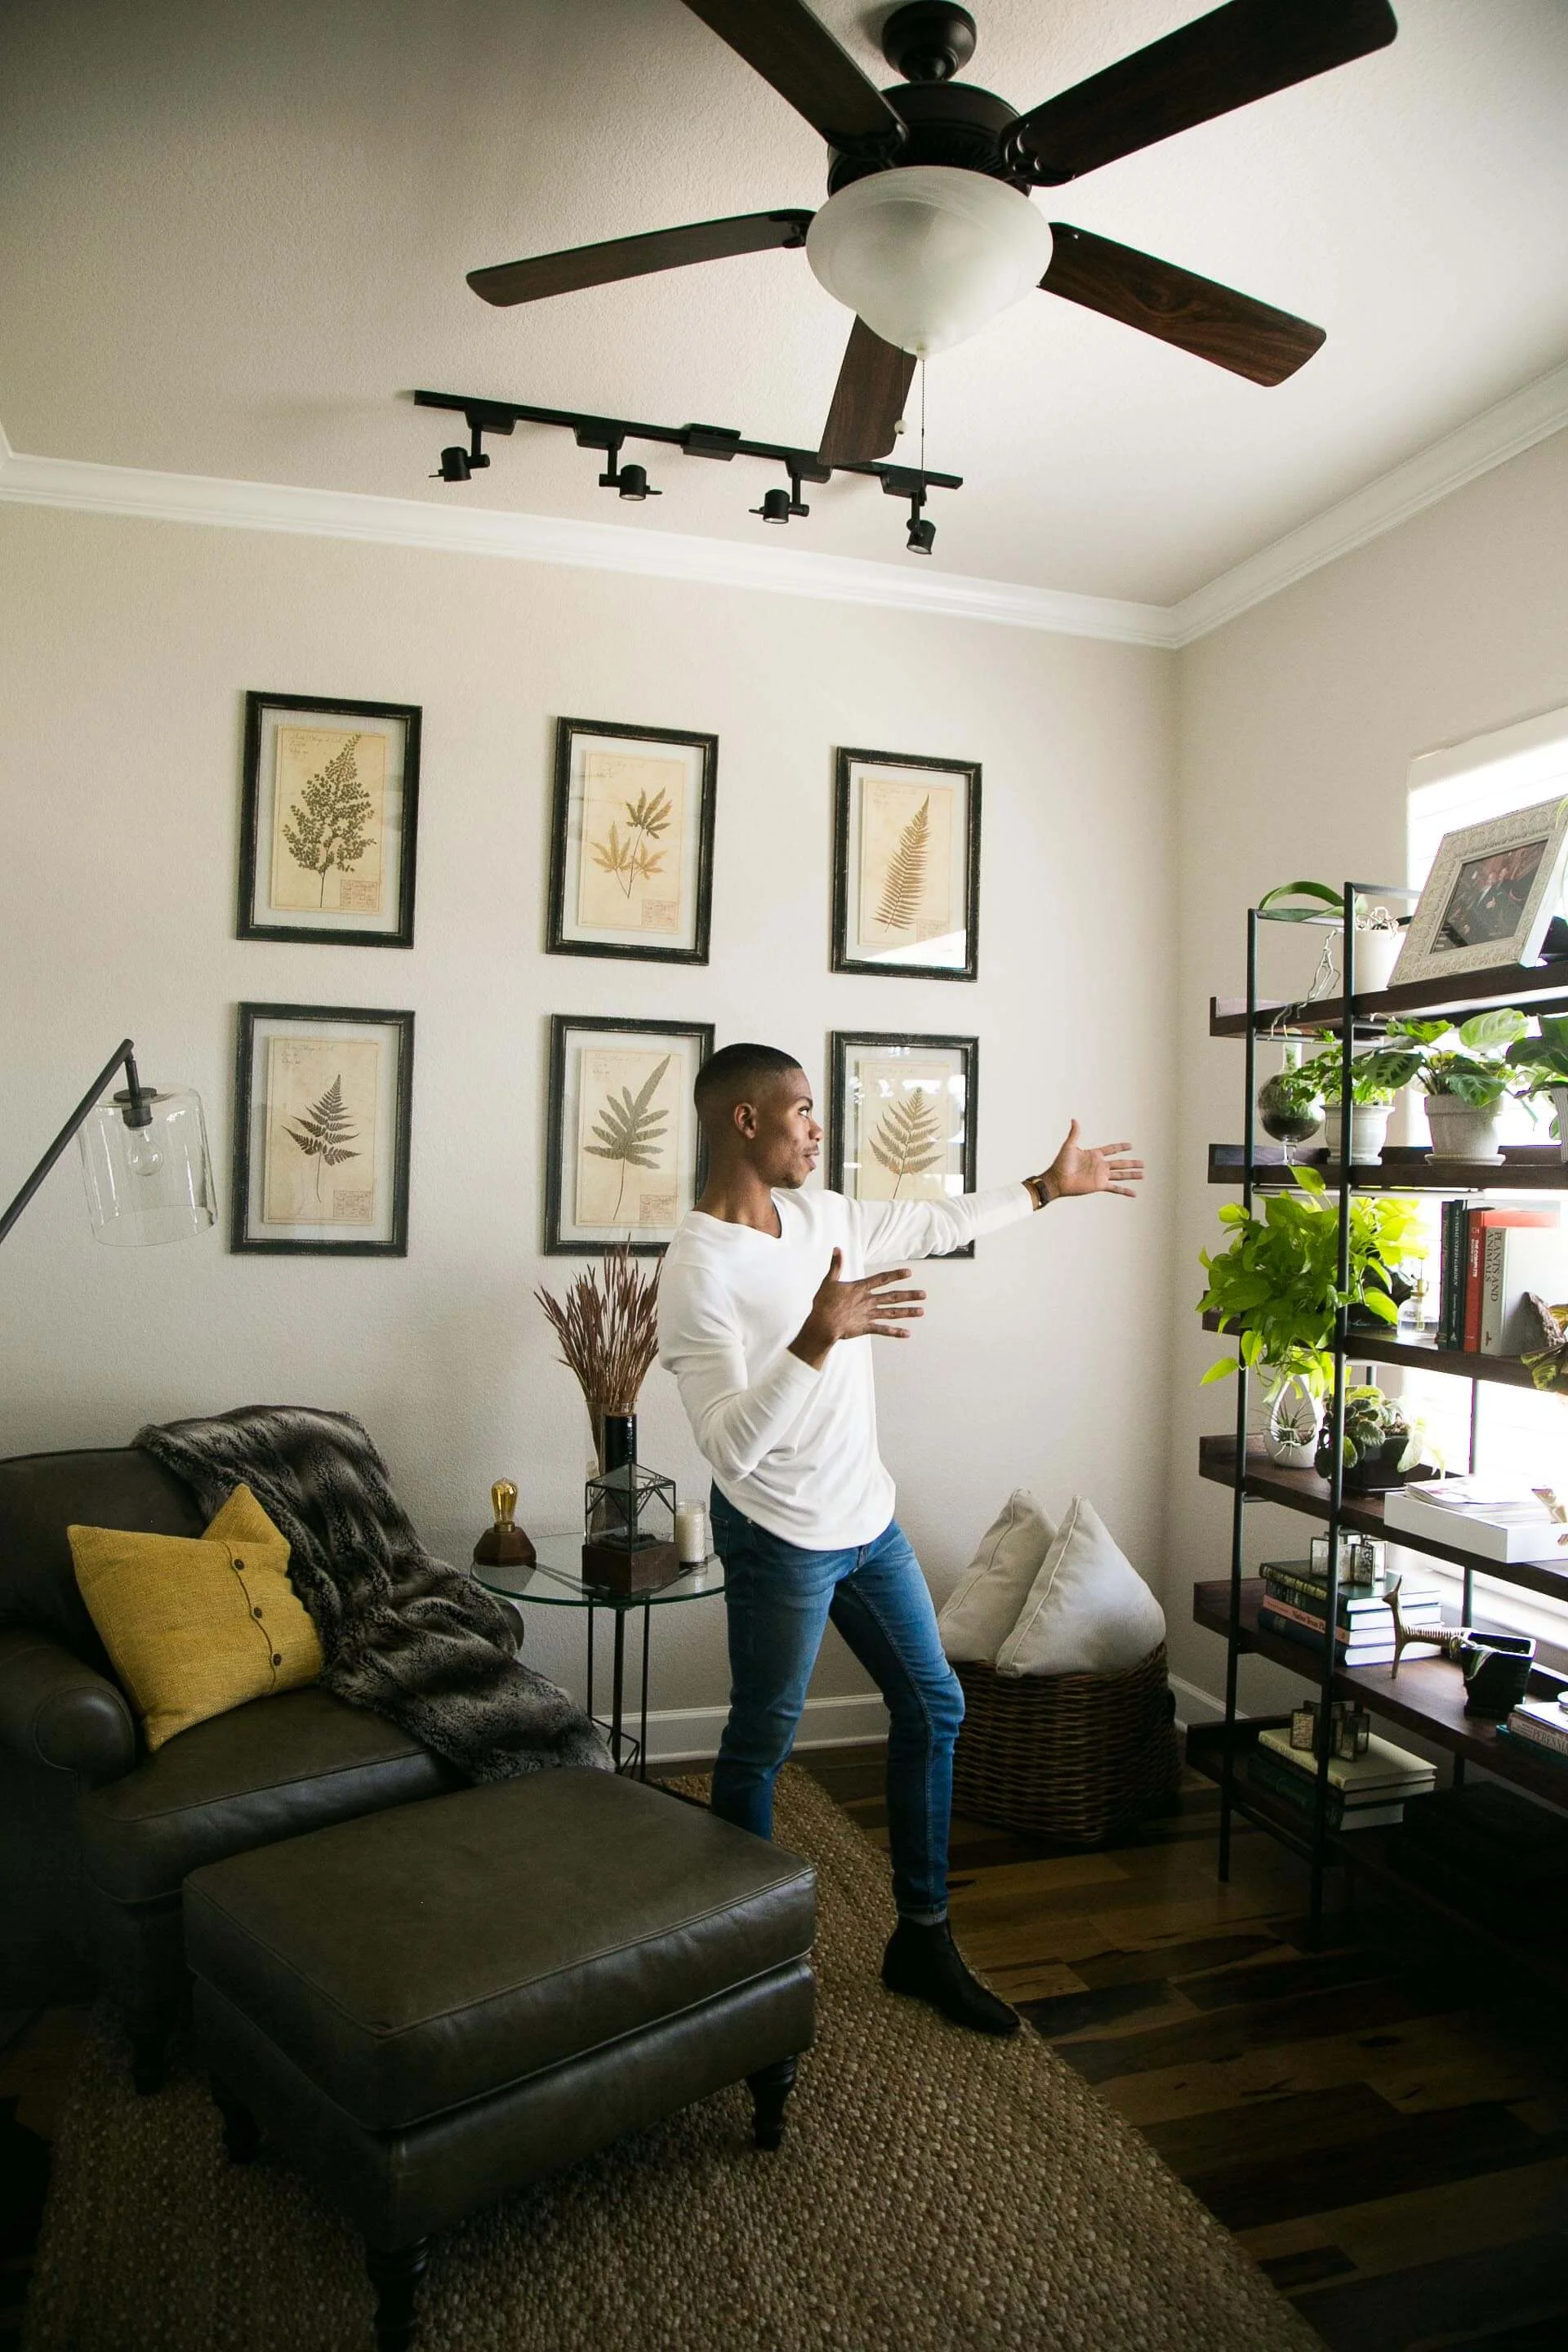
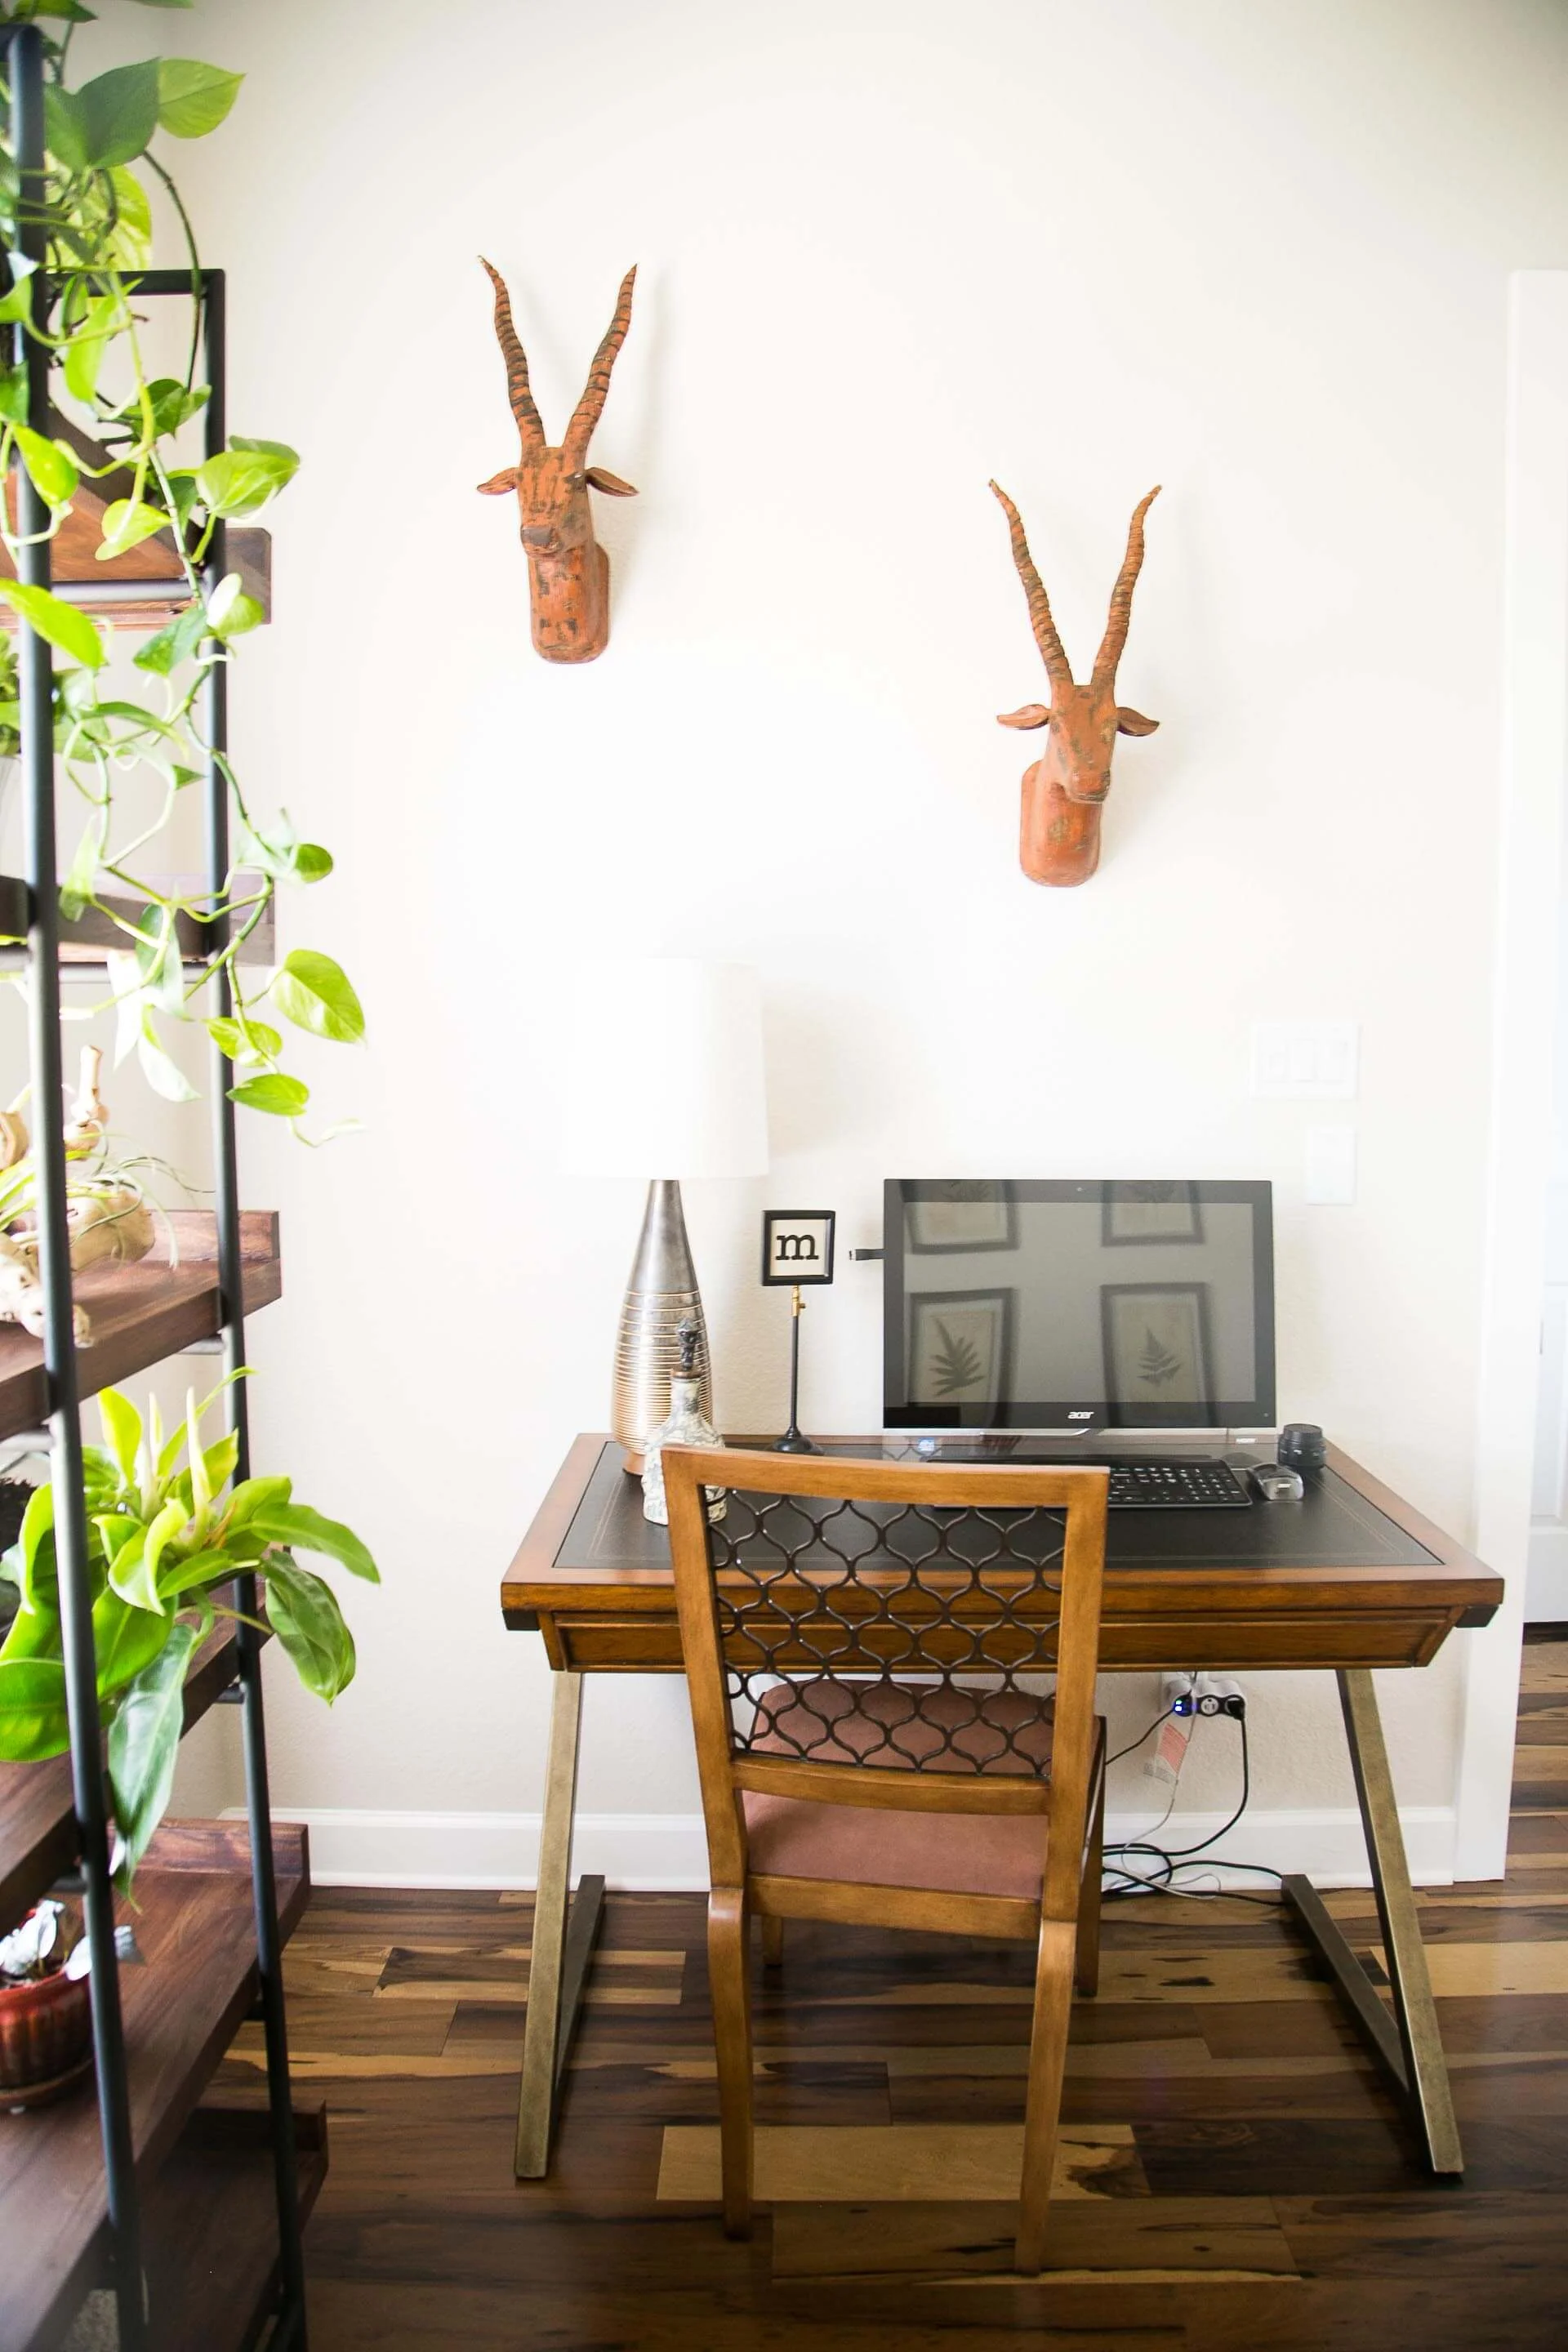
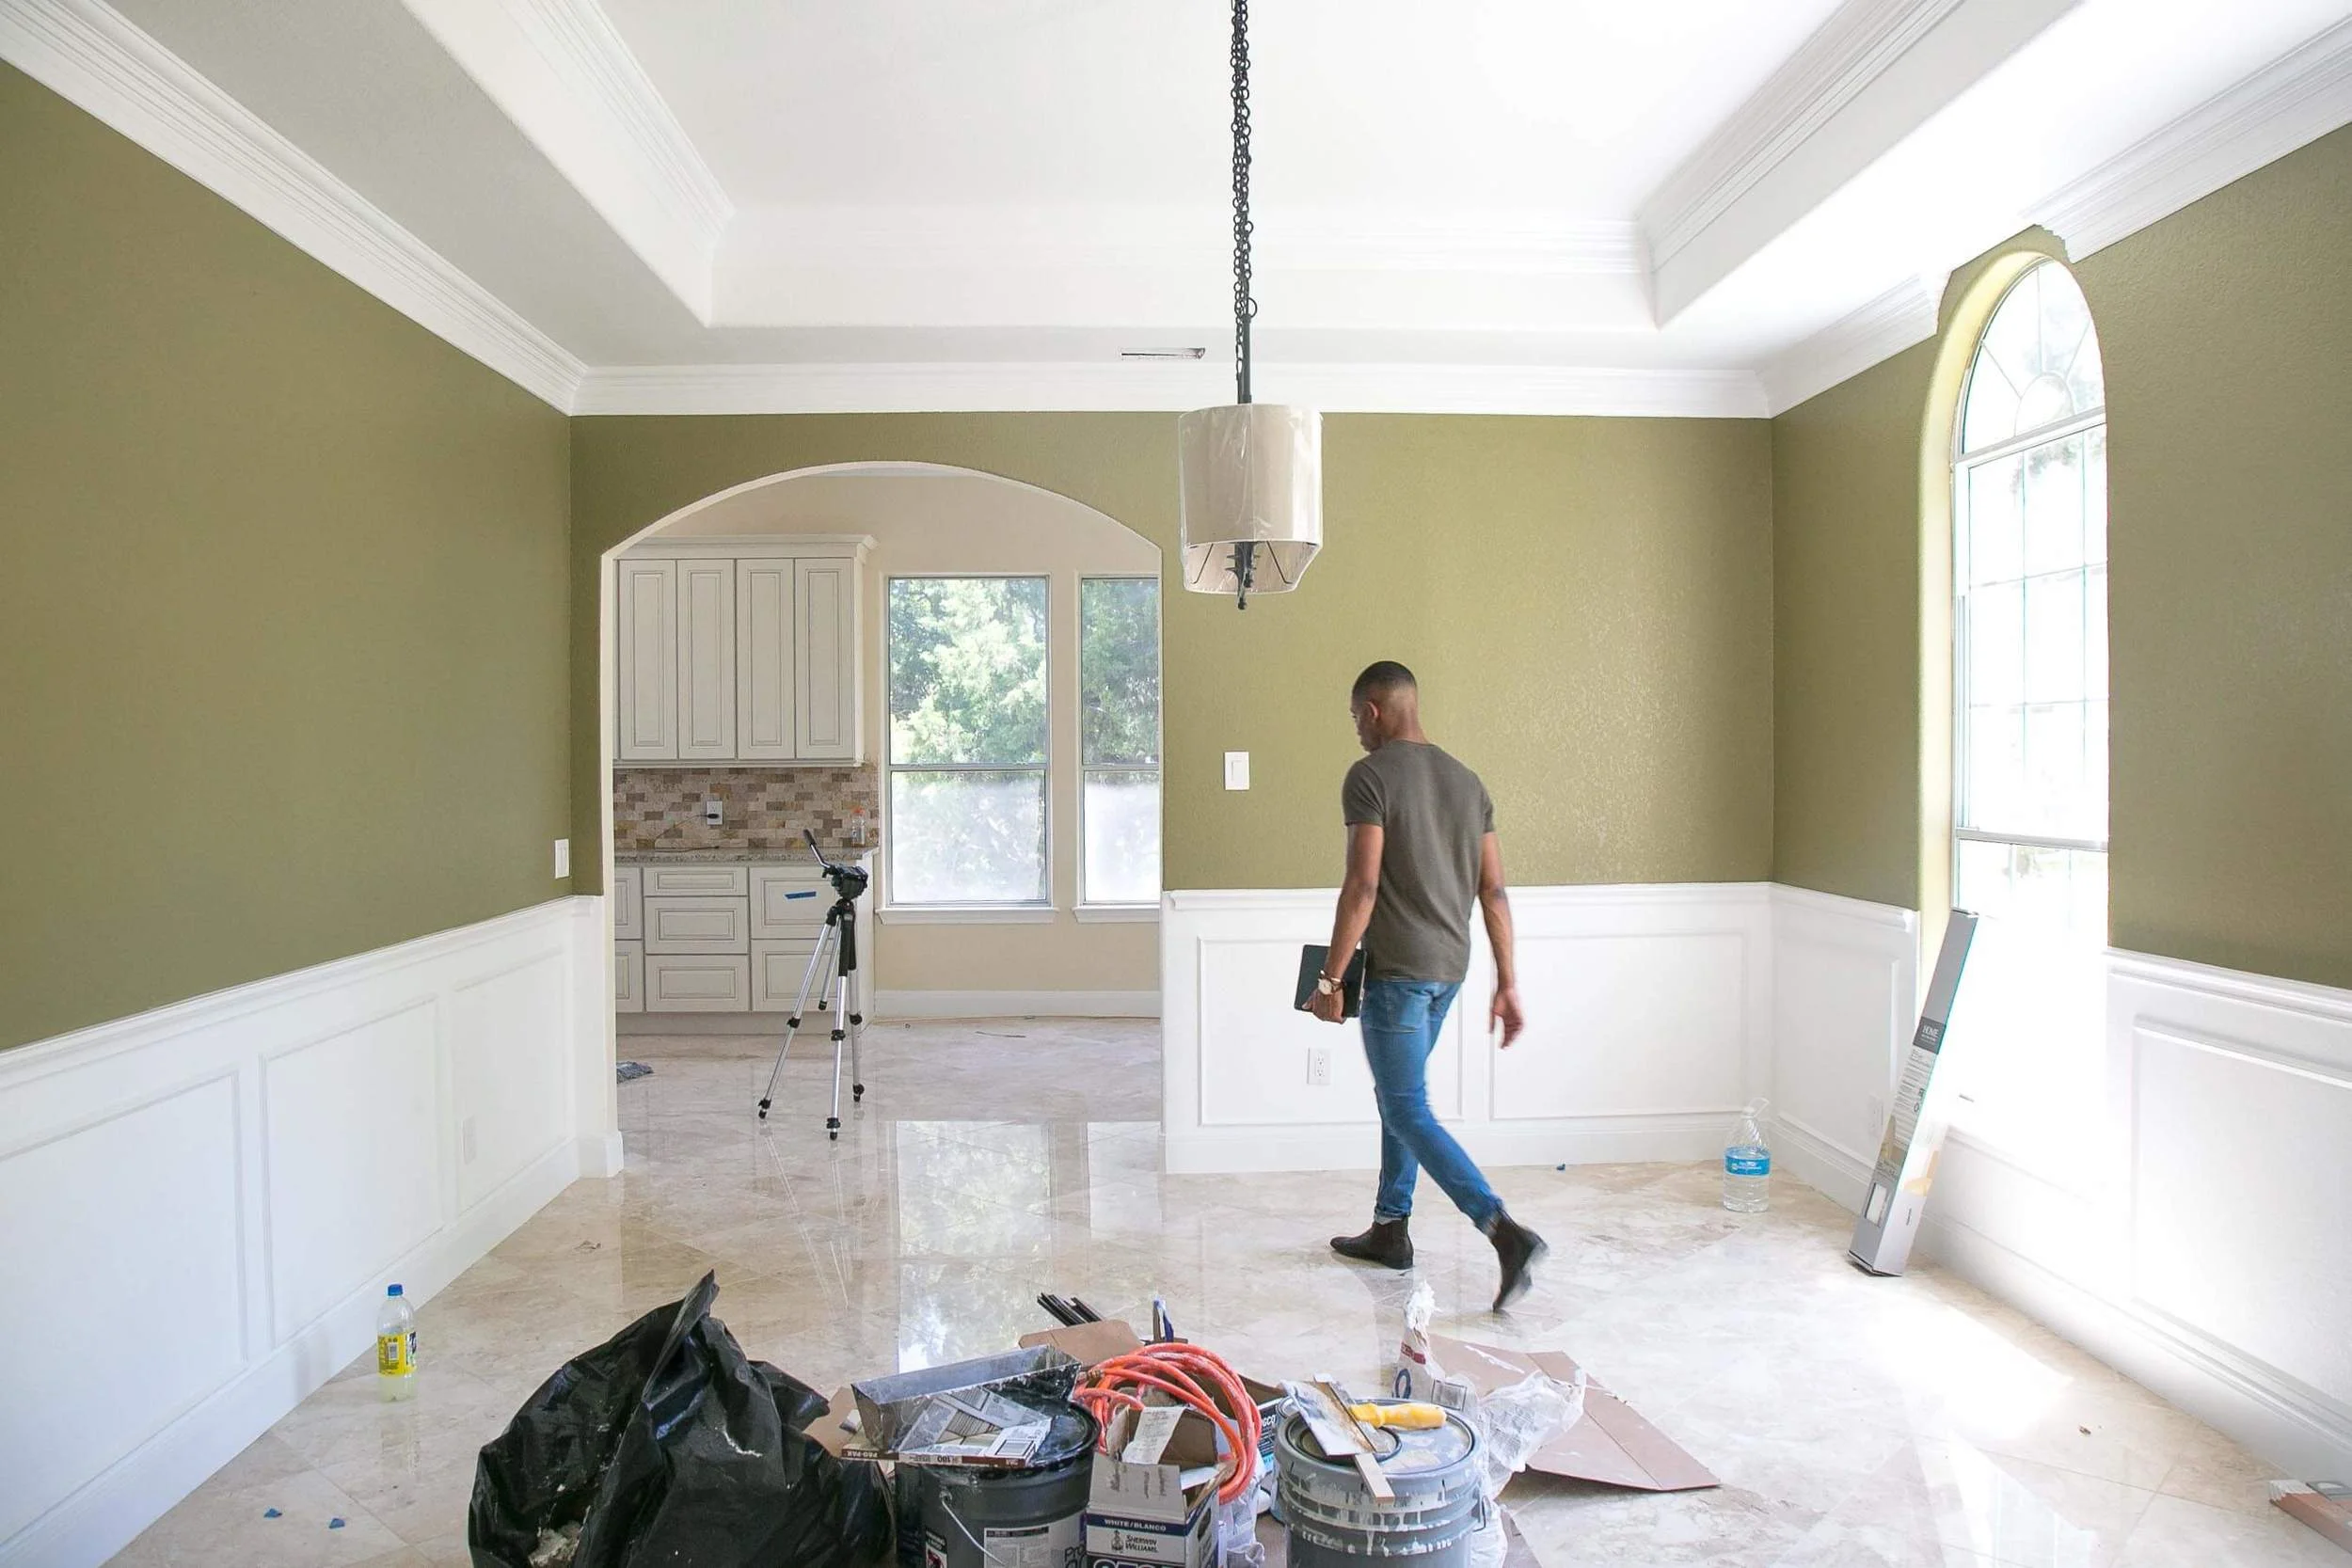
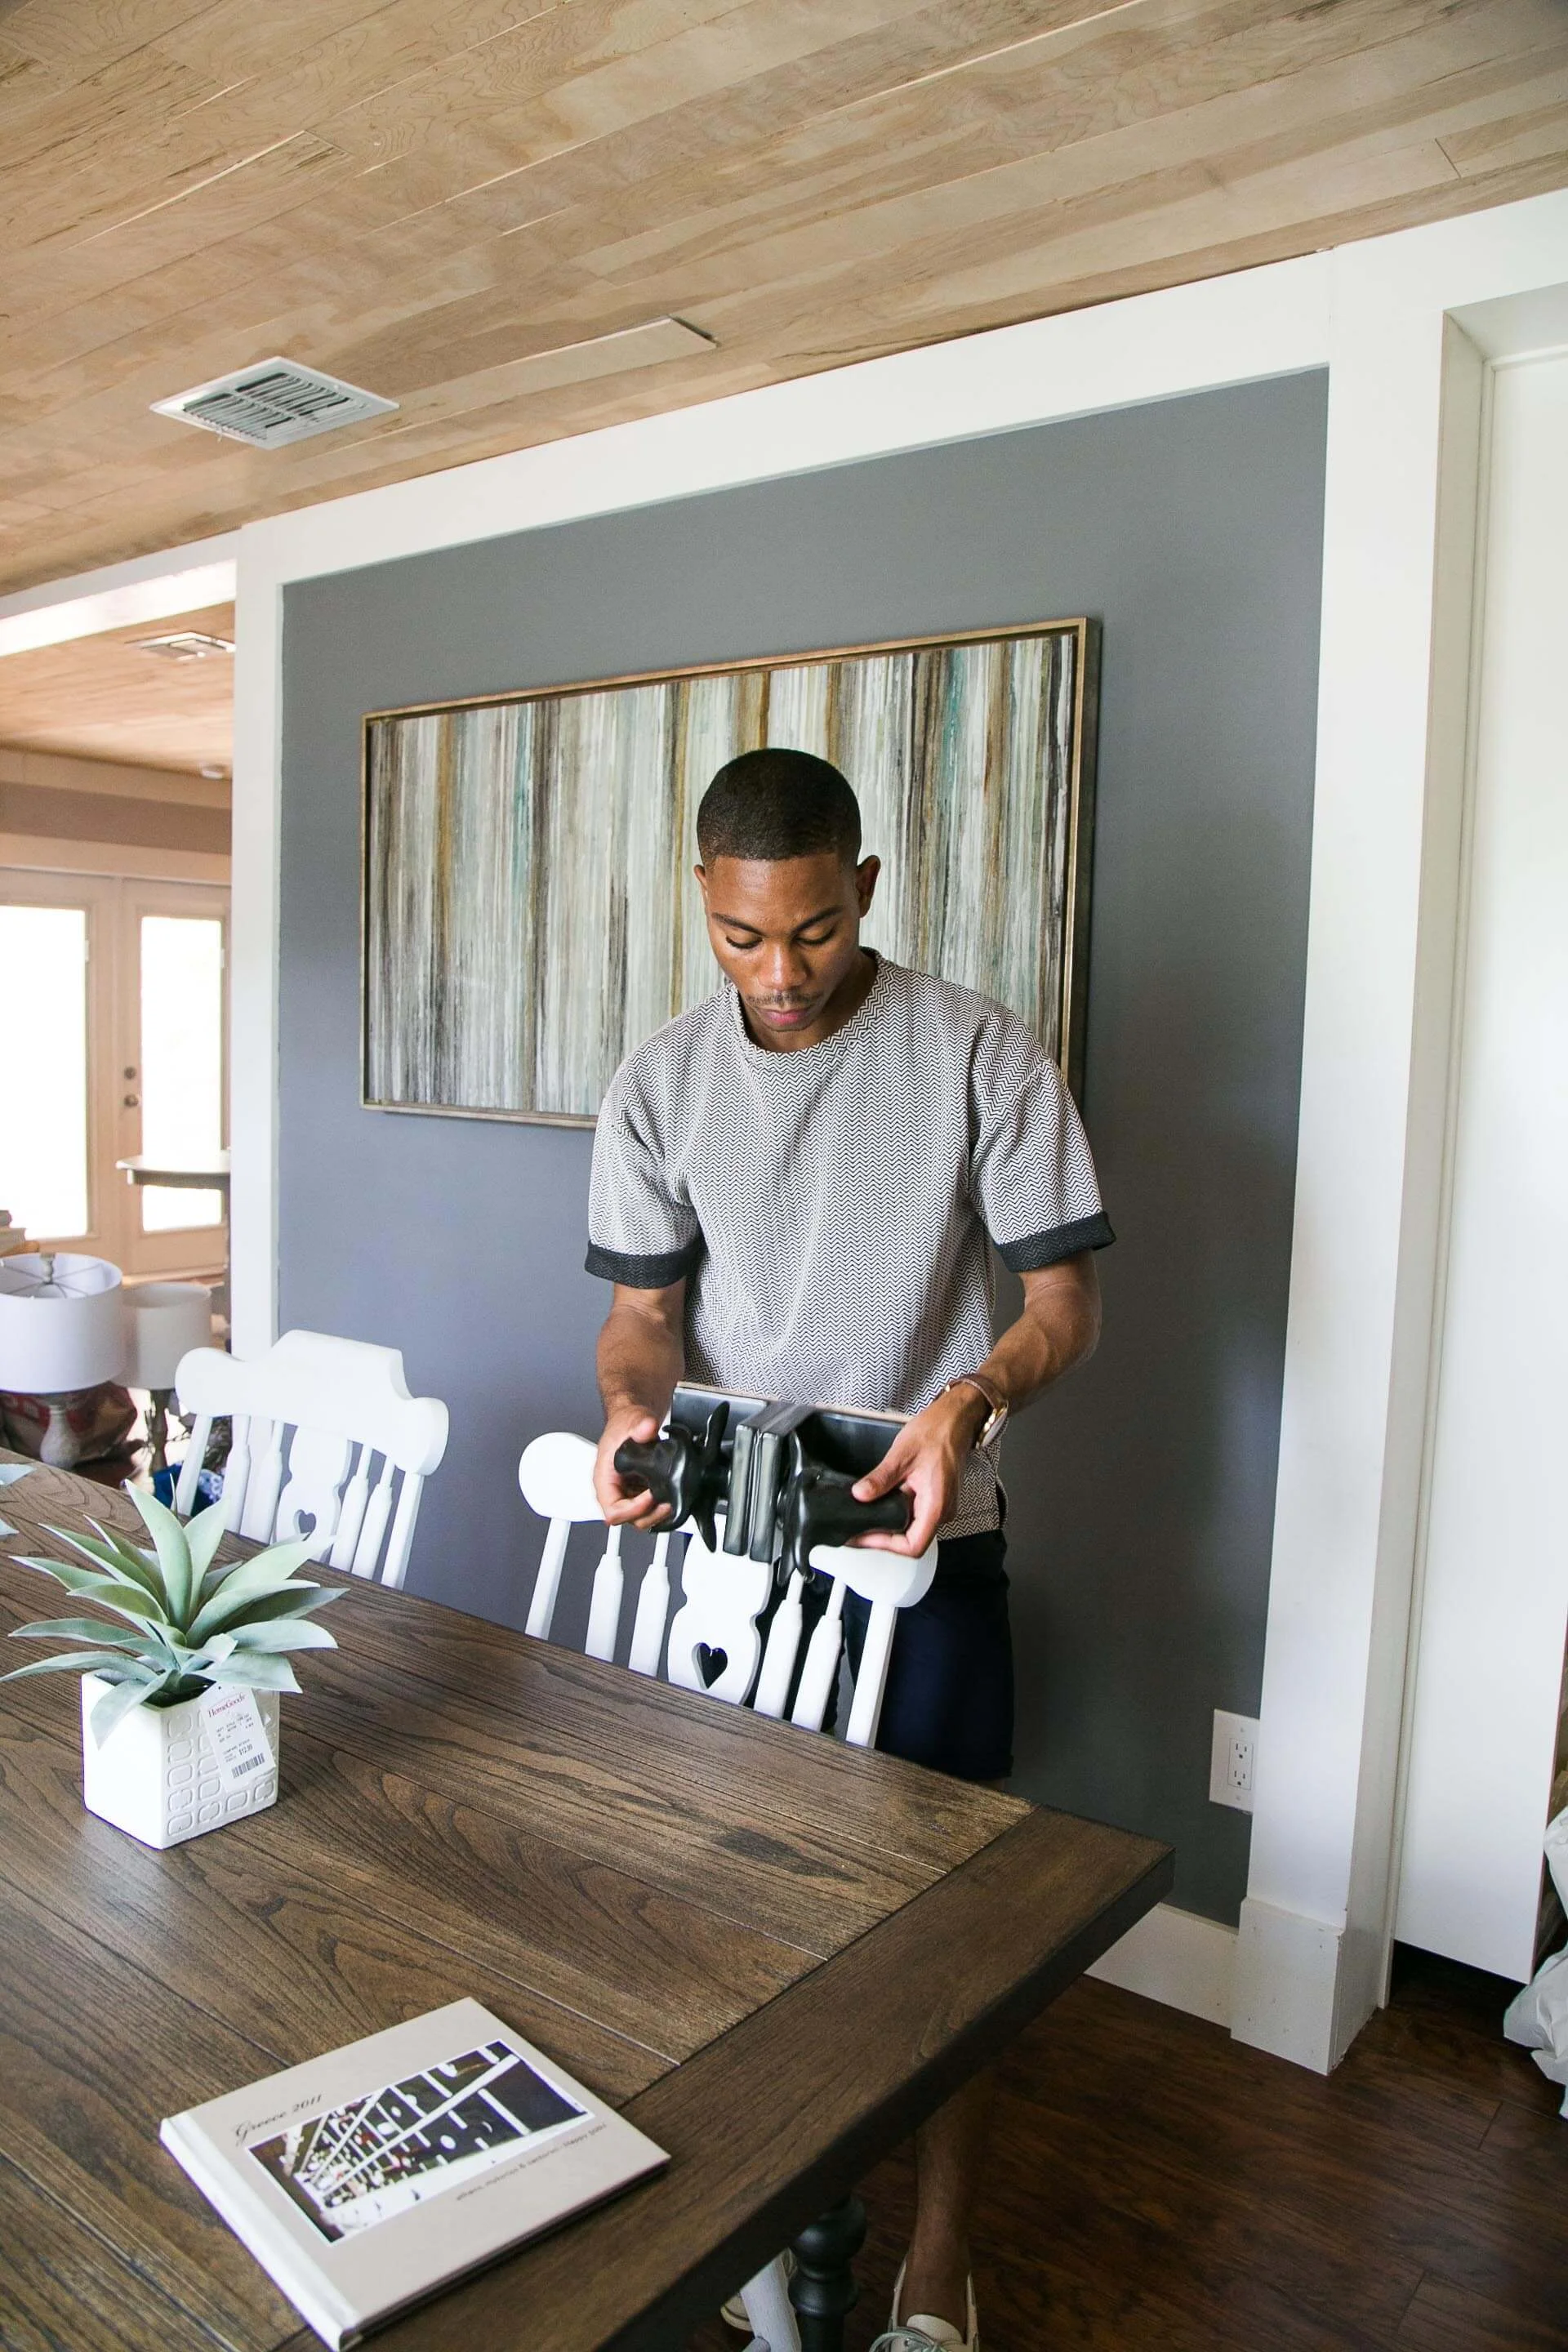
When it comes to composing interior photos, I have found that, when it doubt, it is always best to shoot straight on. Using a room’s architectural framework as a guide, point your camera so that it aligns perfectly with one of your walls. If your camera has a grid or compositional guides in the viewfinder (even iPhones have this feature built in), this is a perfect moment to use that tool. You want to make it so that the wall’s horizontal and vertical lines (along with the horizontal and vertical elements of items along that wall) are aligned, almost as if on a grid, within your viewfinder.

Photographed: Dillion Dorsey, James Matthew Design - Residential, Retail & Commercial Interior Designer

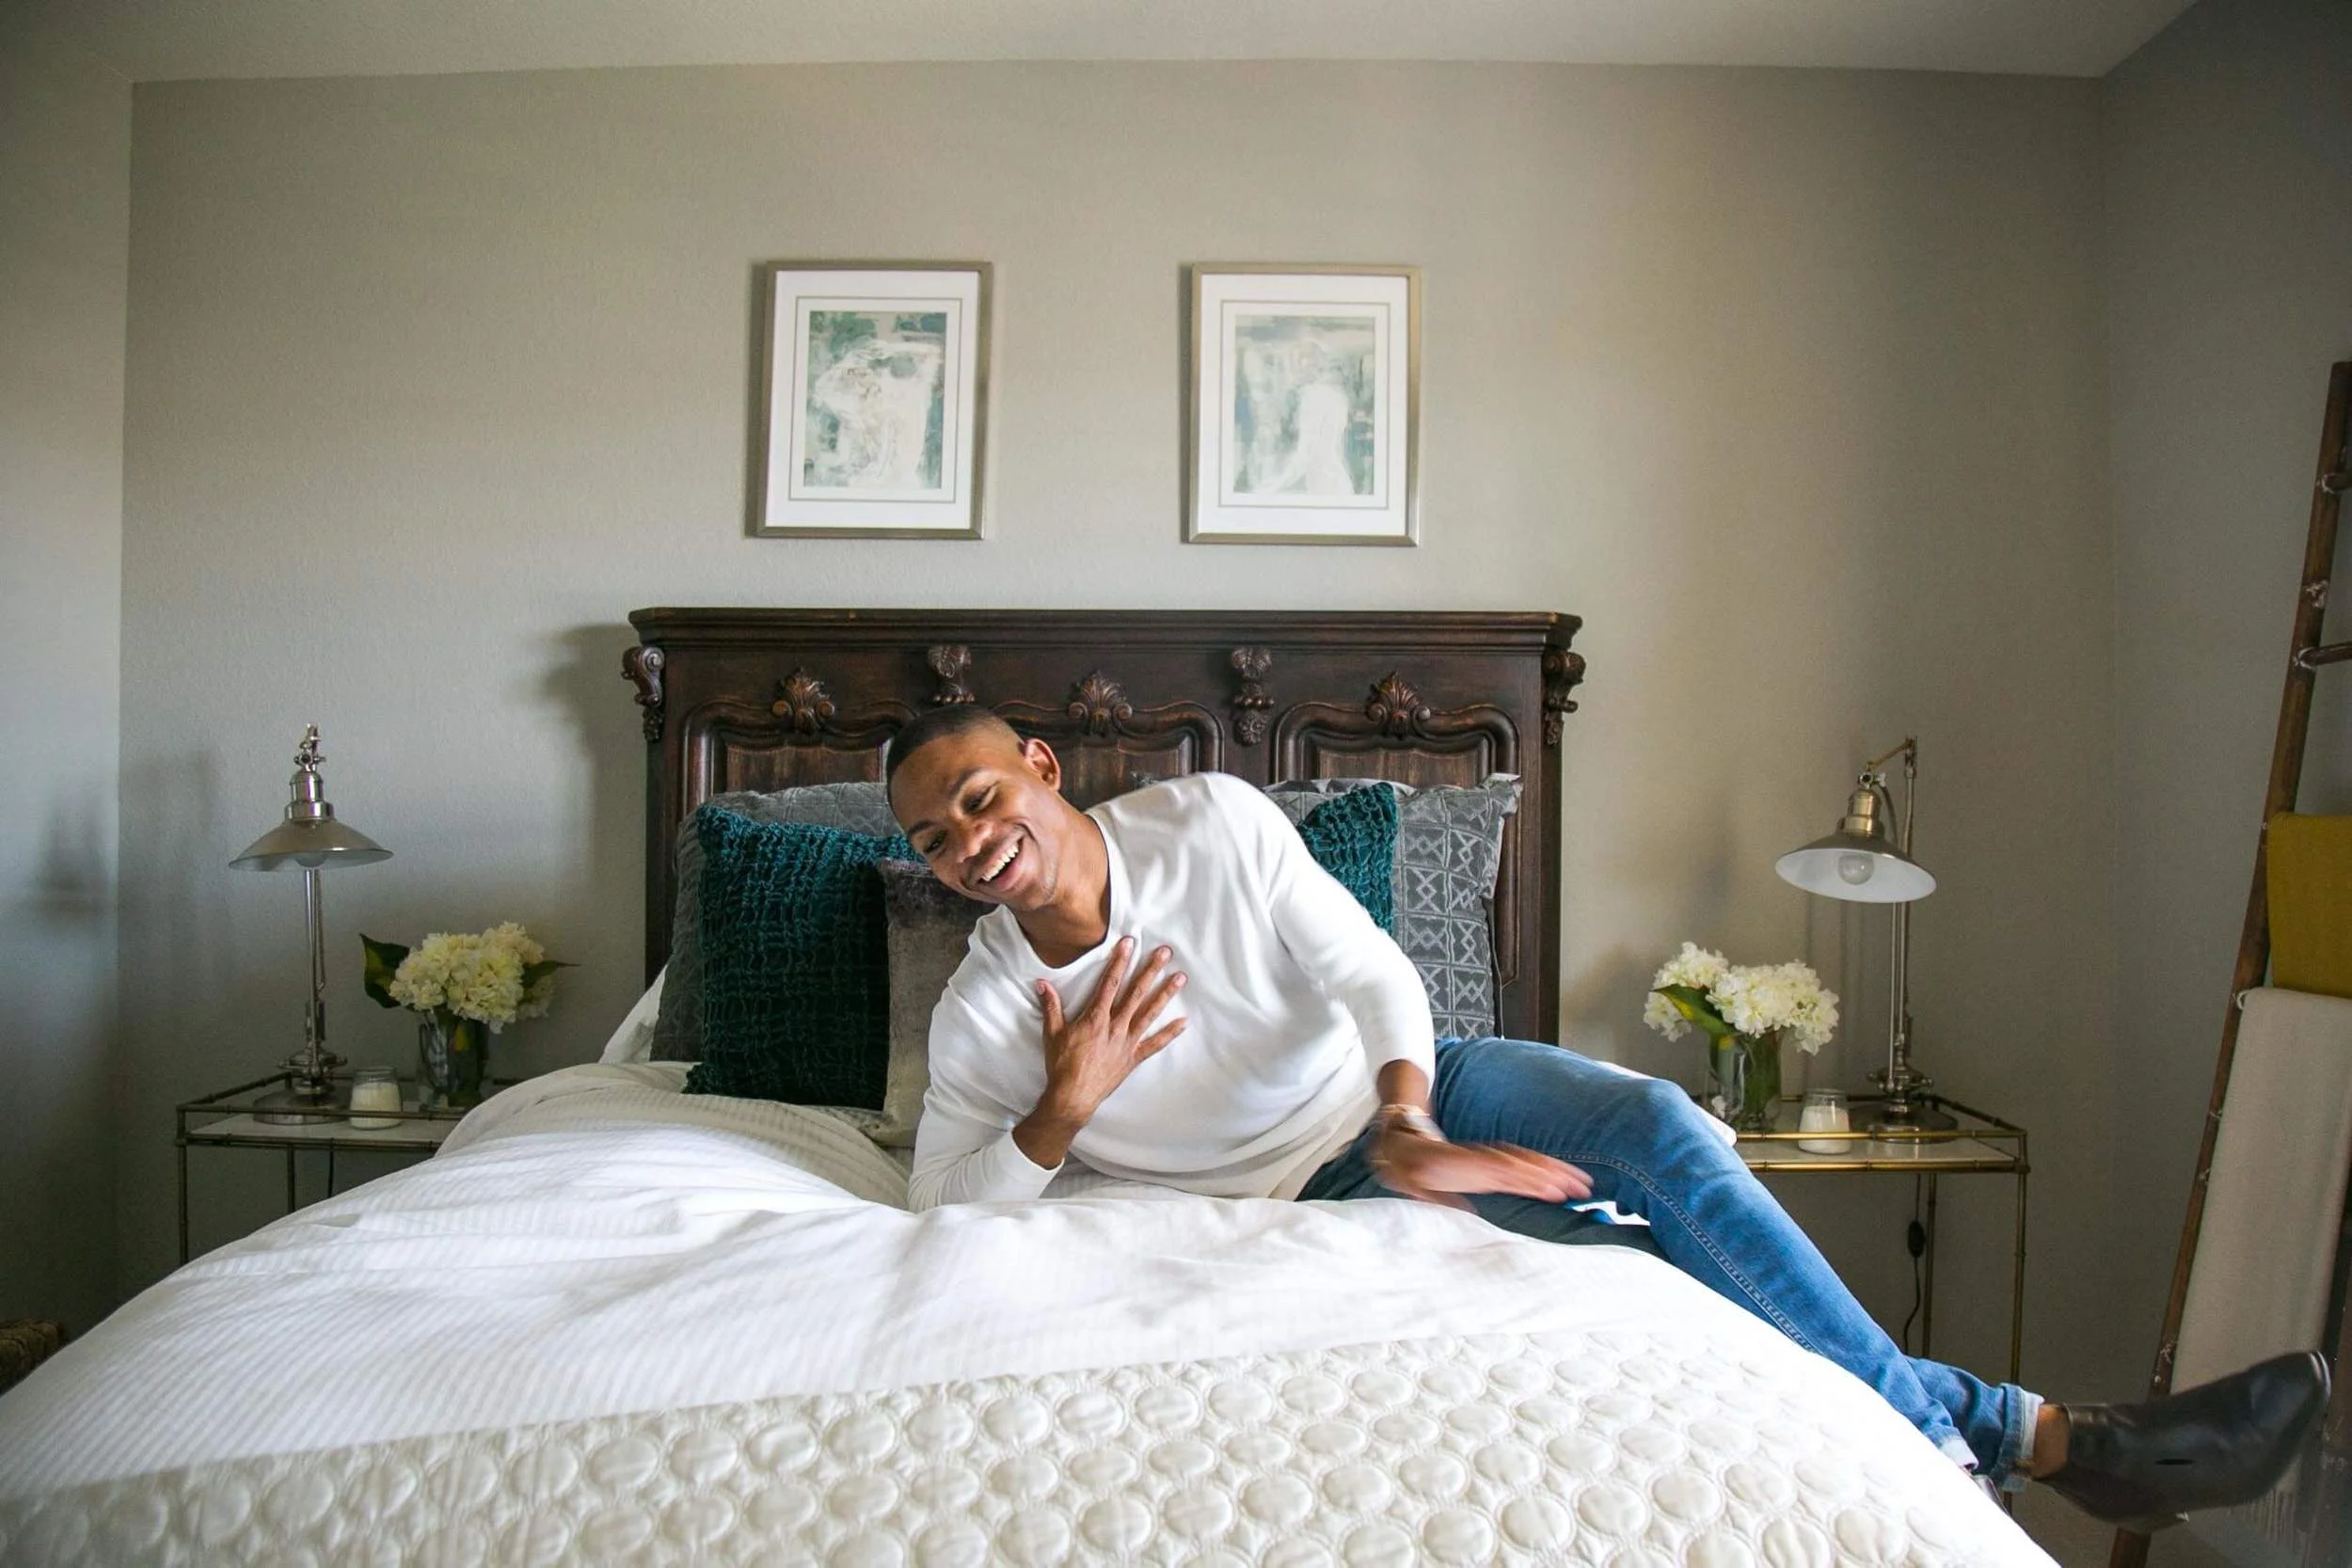
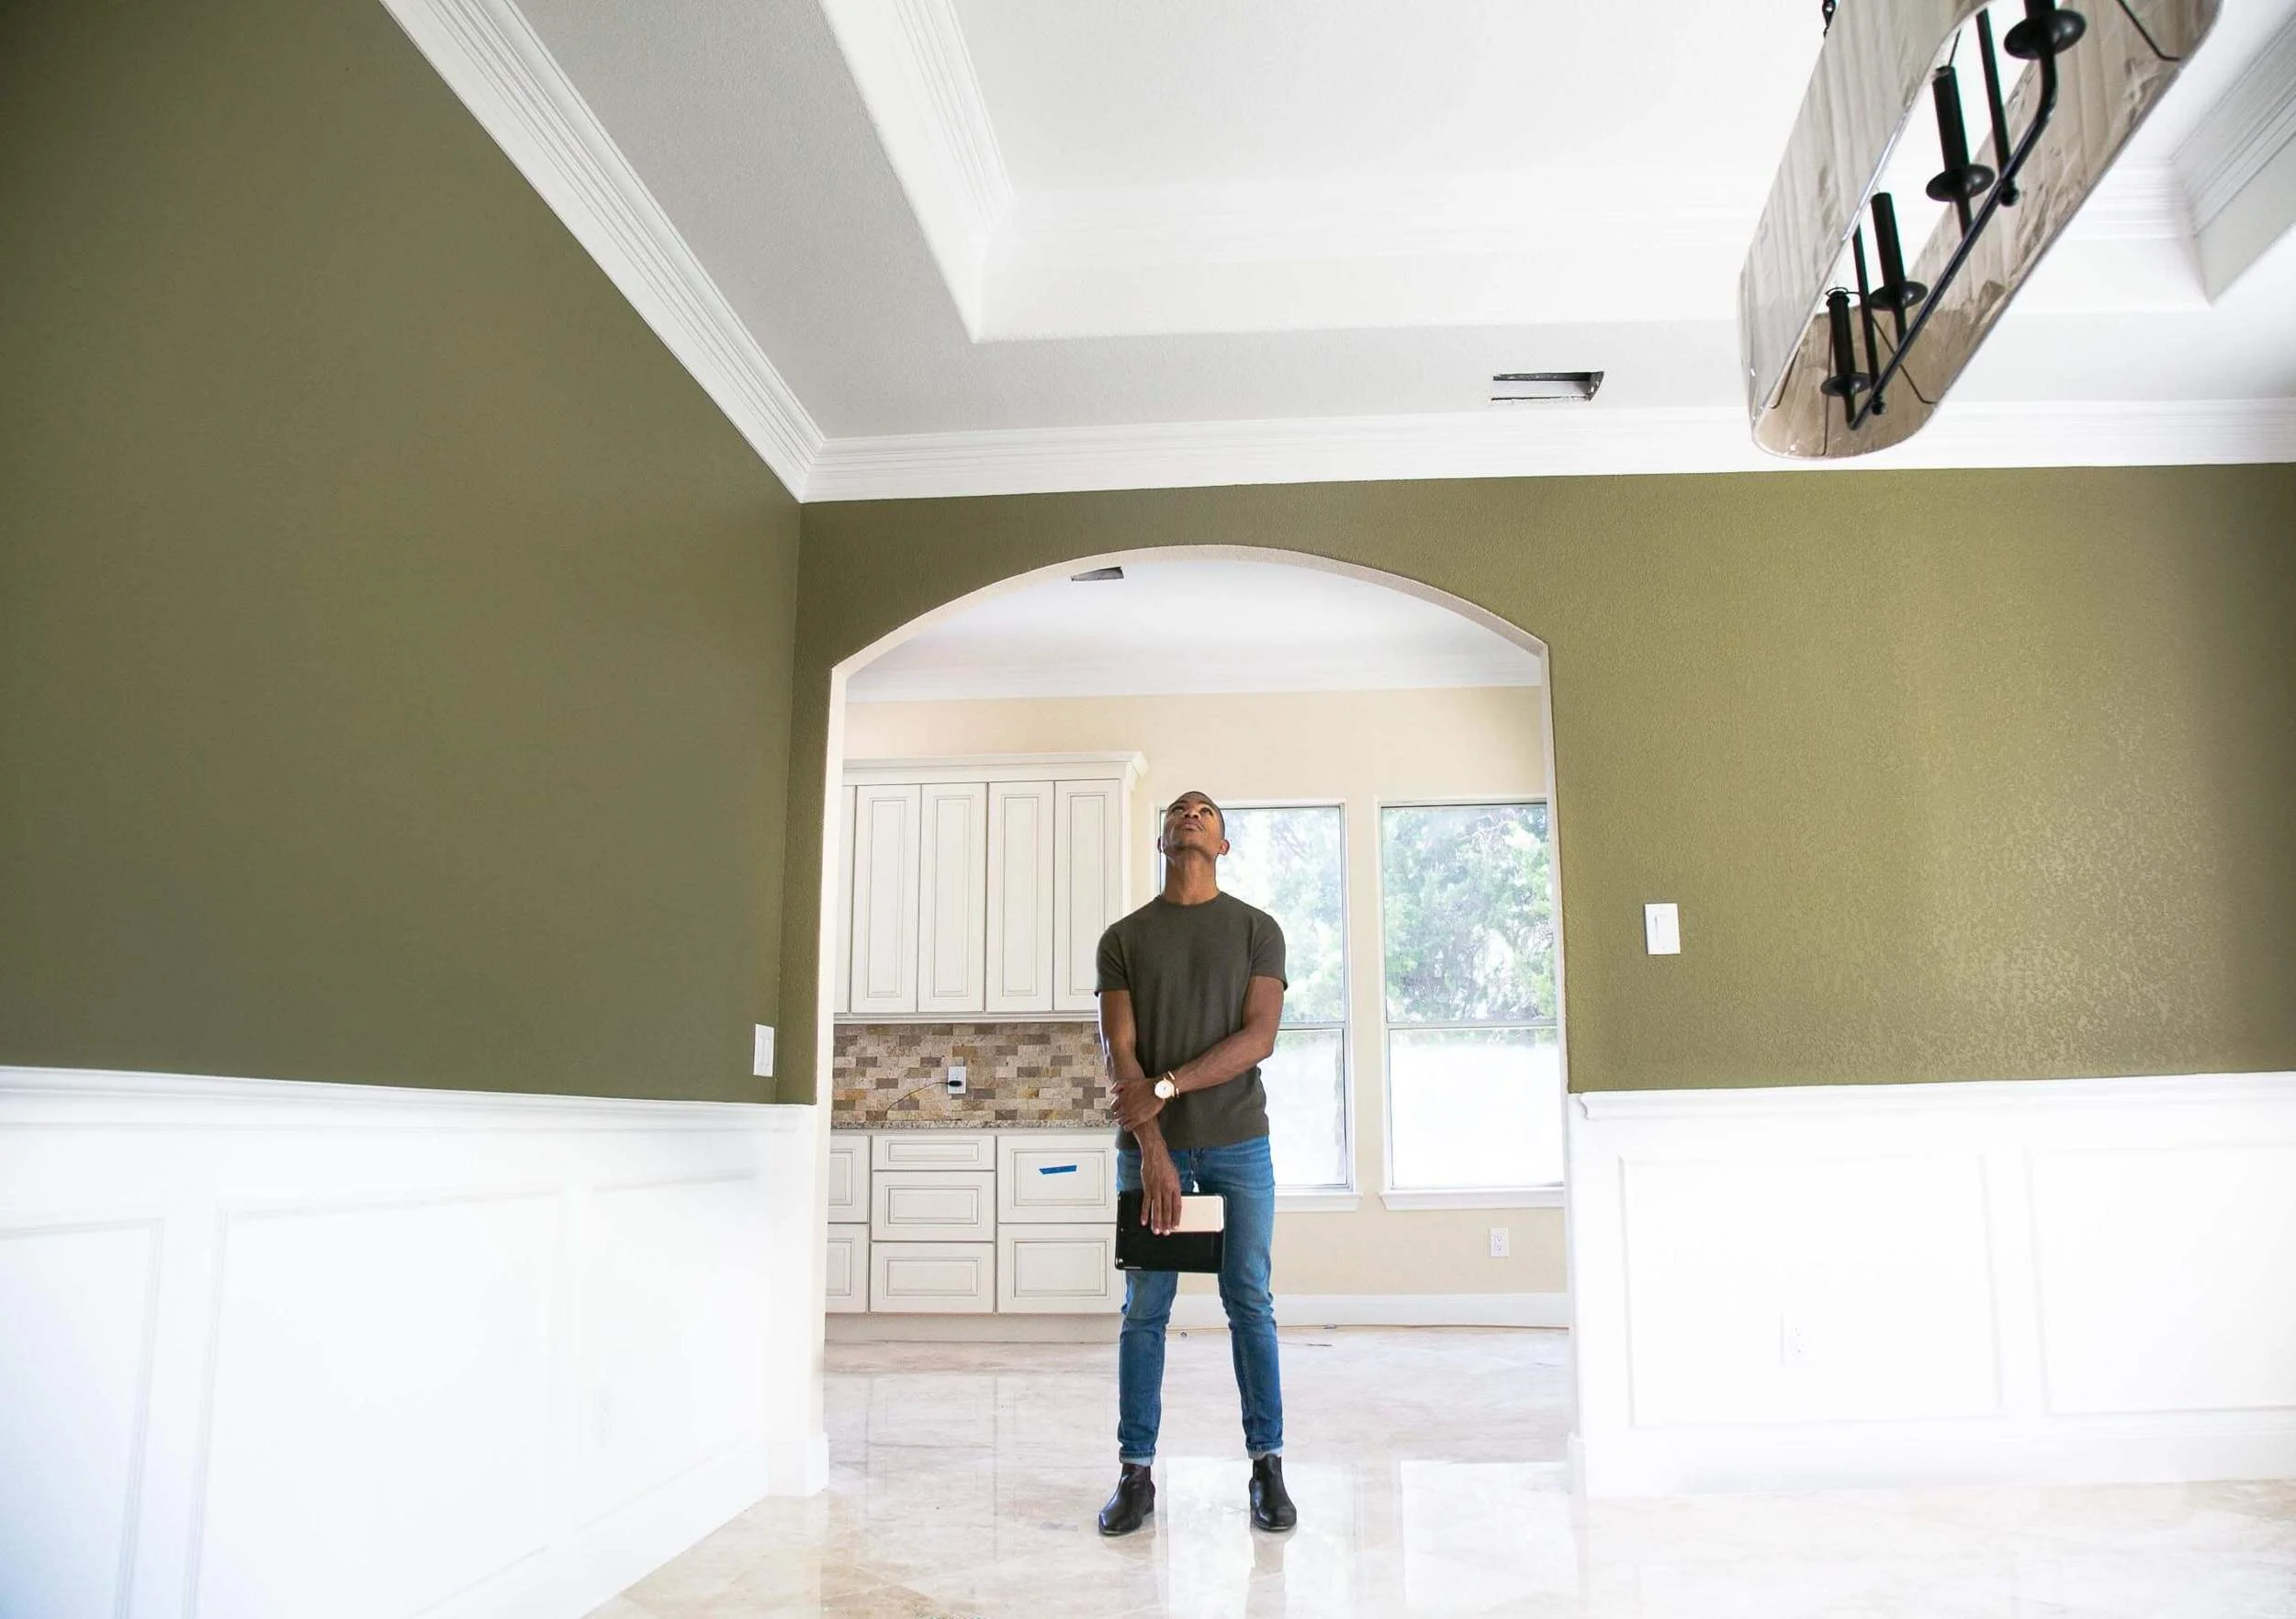
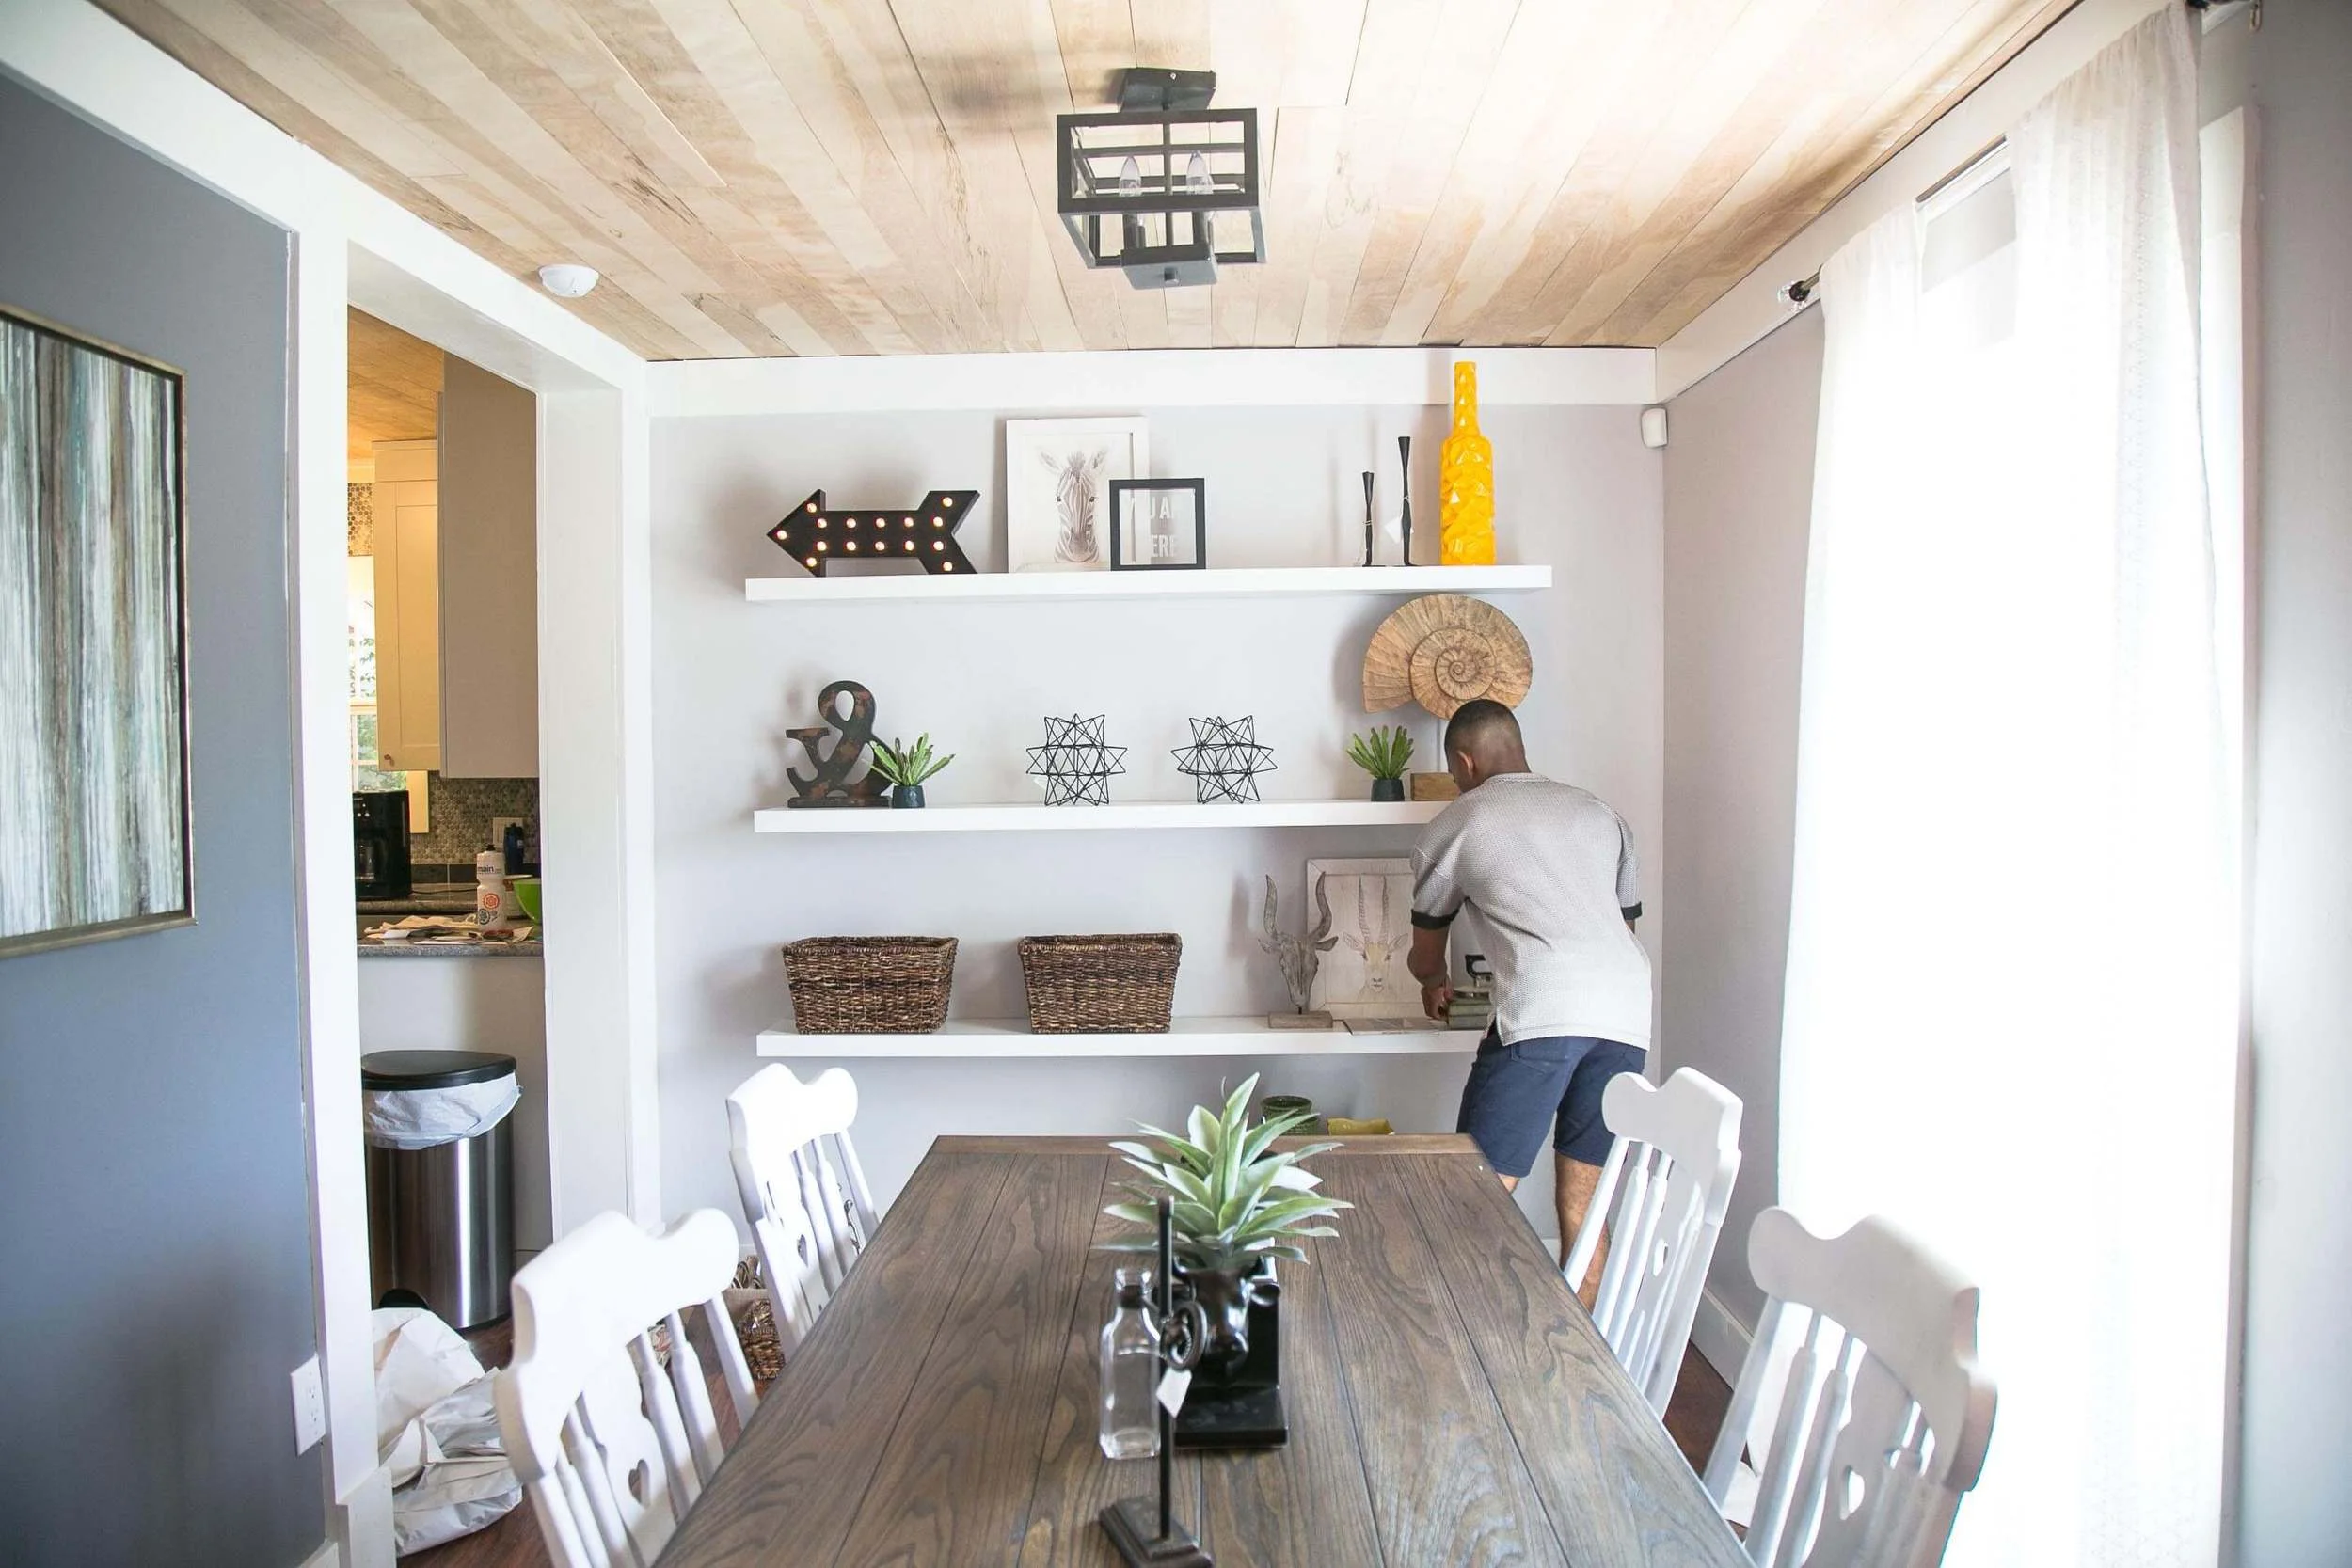
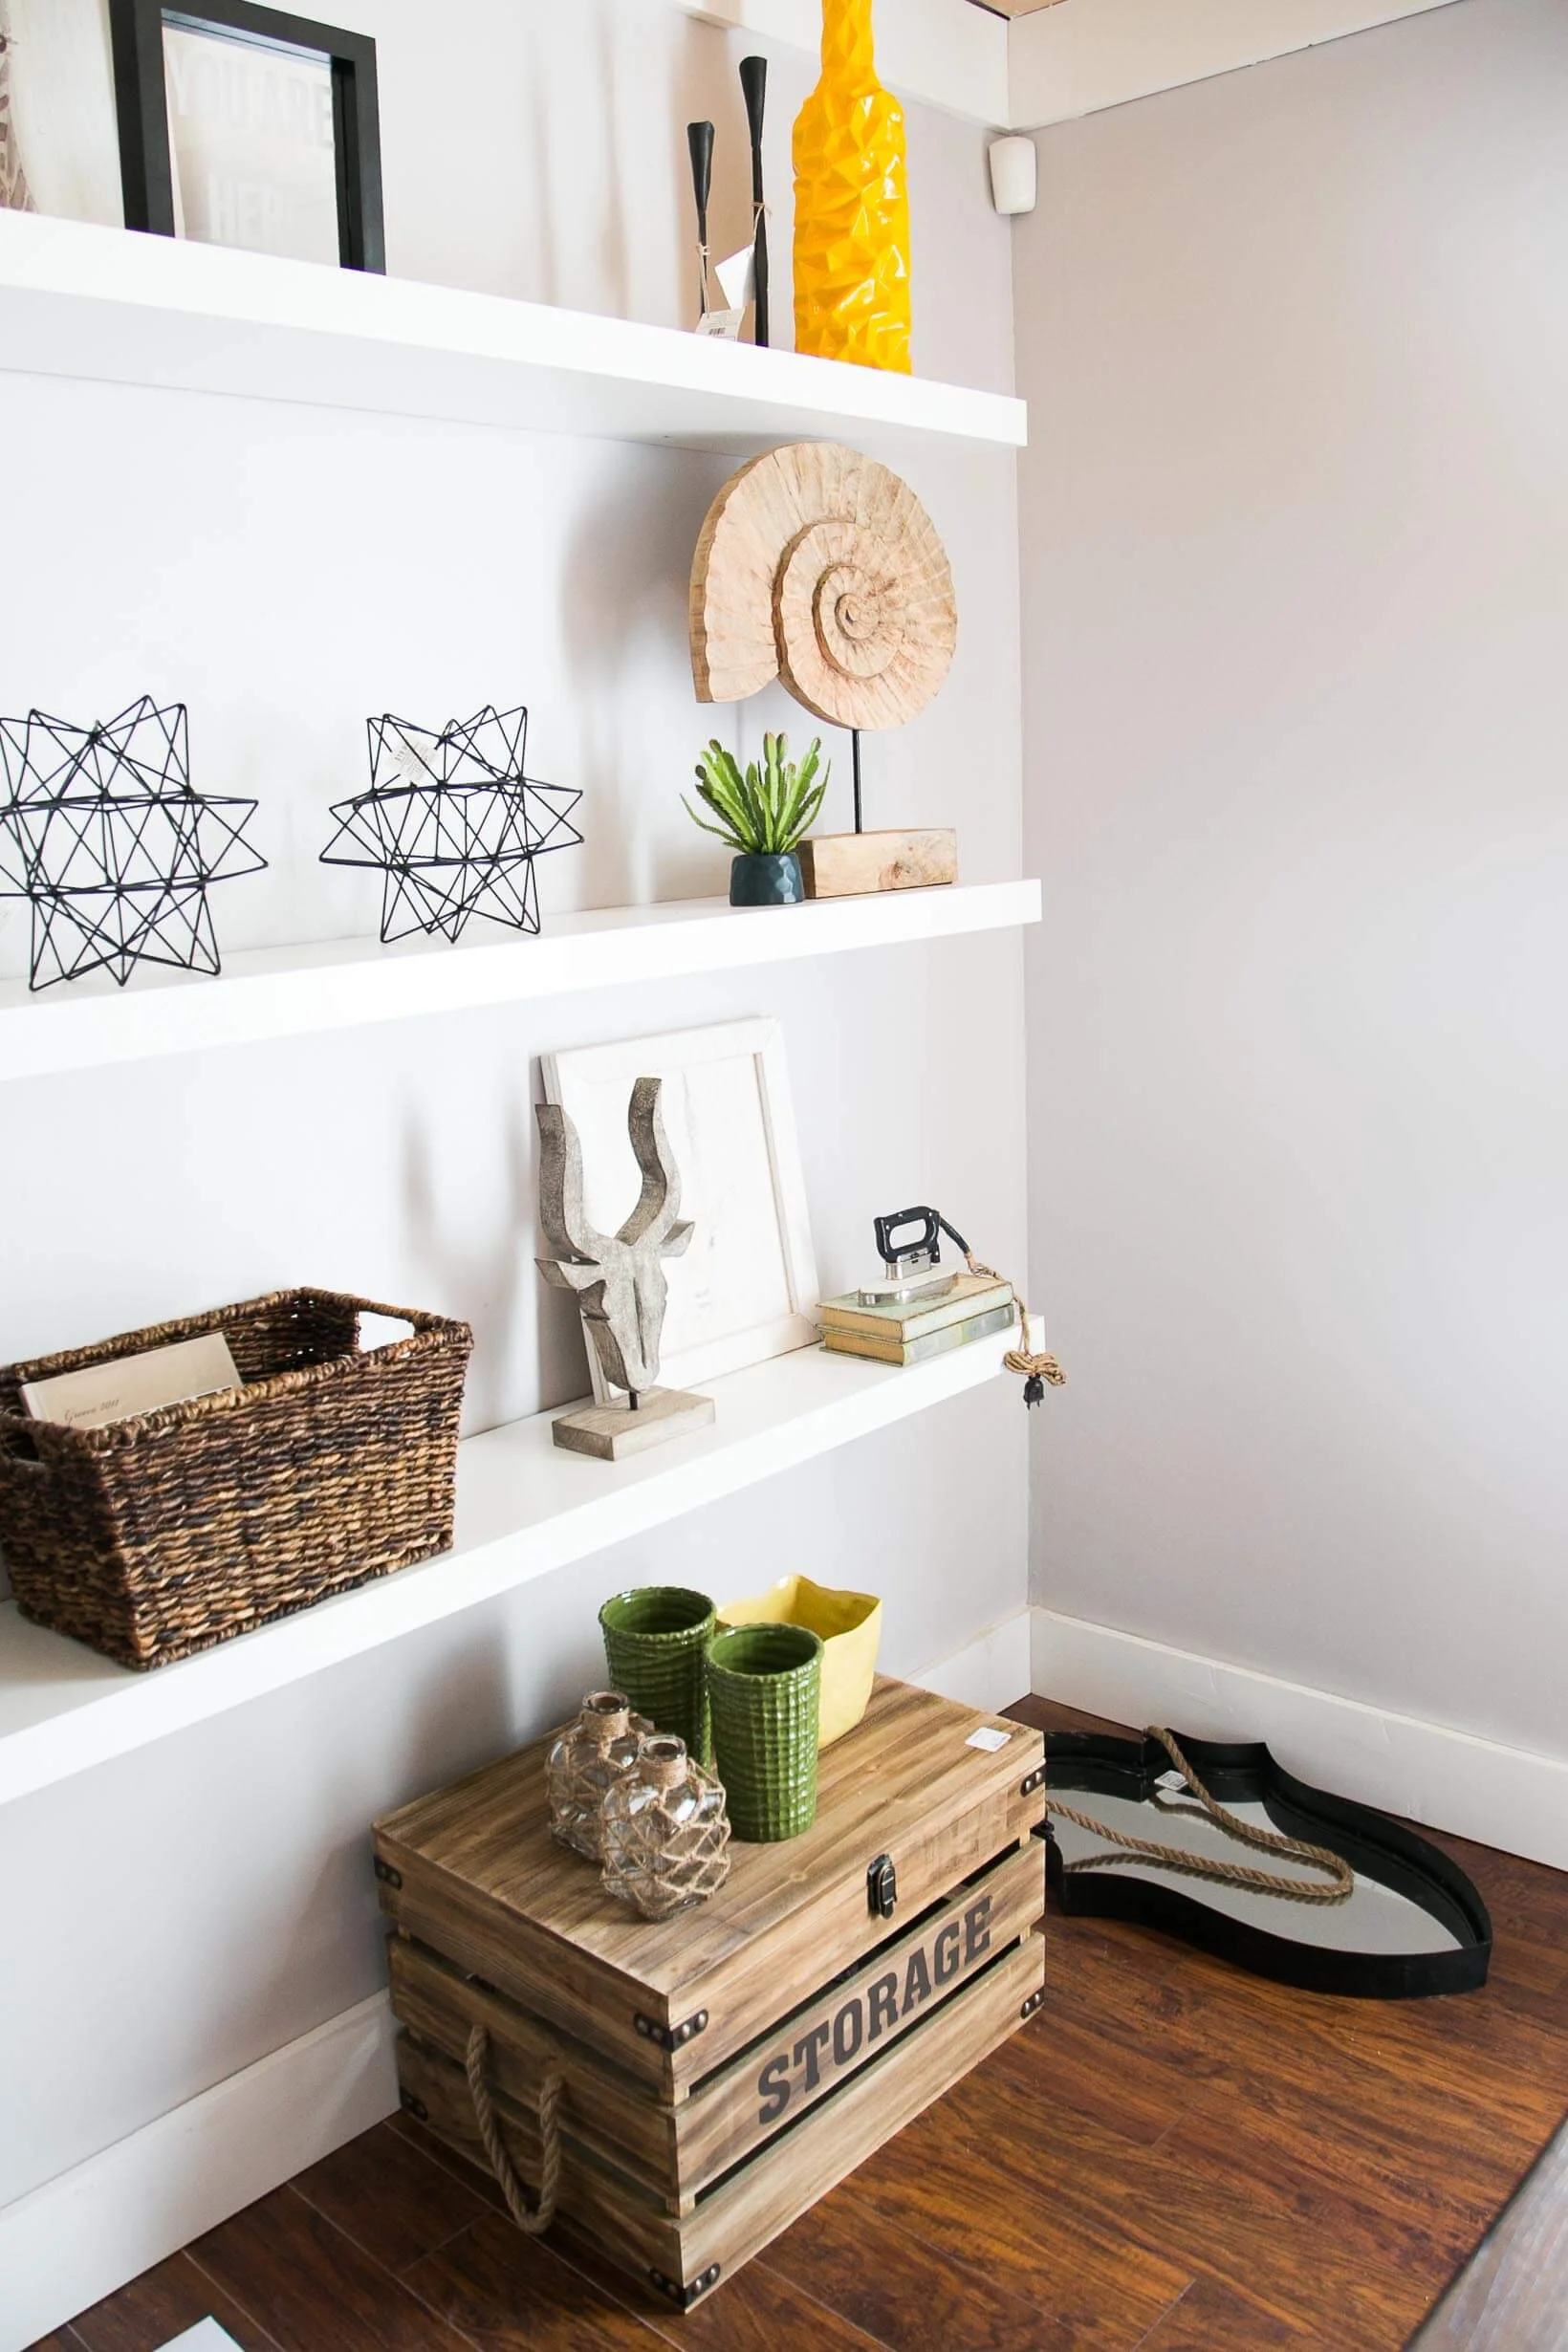
One of the biggest obstacles you might encounter when photographing an interior space is lack of space. When shooting indoors, especially within tiny apartments or smaller rooms like kitchens and bathrooms, you might find yourself backed into a wall (literally) when attempting to get the perfect shot. Oftentimes, people’s first instinct is to go out an buy a wide-angle lens to fix this issue, but this option often results in distorted, “fisheyed” images. I’ve found that the best way to get the shot you want is to not change your lens, but change your environment.
It’s important to keep in mind that you, as the photographer, are essentially The Omnipotent Master of The Universe within your photos. Meaning: feel free to move stuff. If you can’t take the perfect photograph of your couch because there’s a big ol’ credenza behind you, move that credenza! If there’s a houseplant where you need your tripod to be, move that houseplant! If you can get a better shot of the room in question from the next room over, then by all means—shoot through the door! BOOM
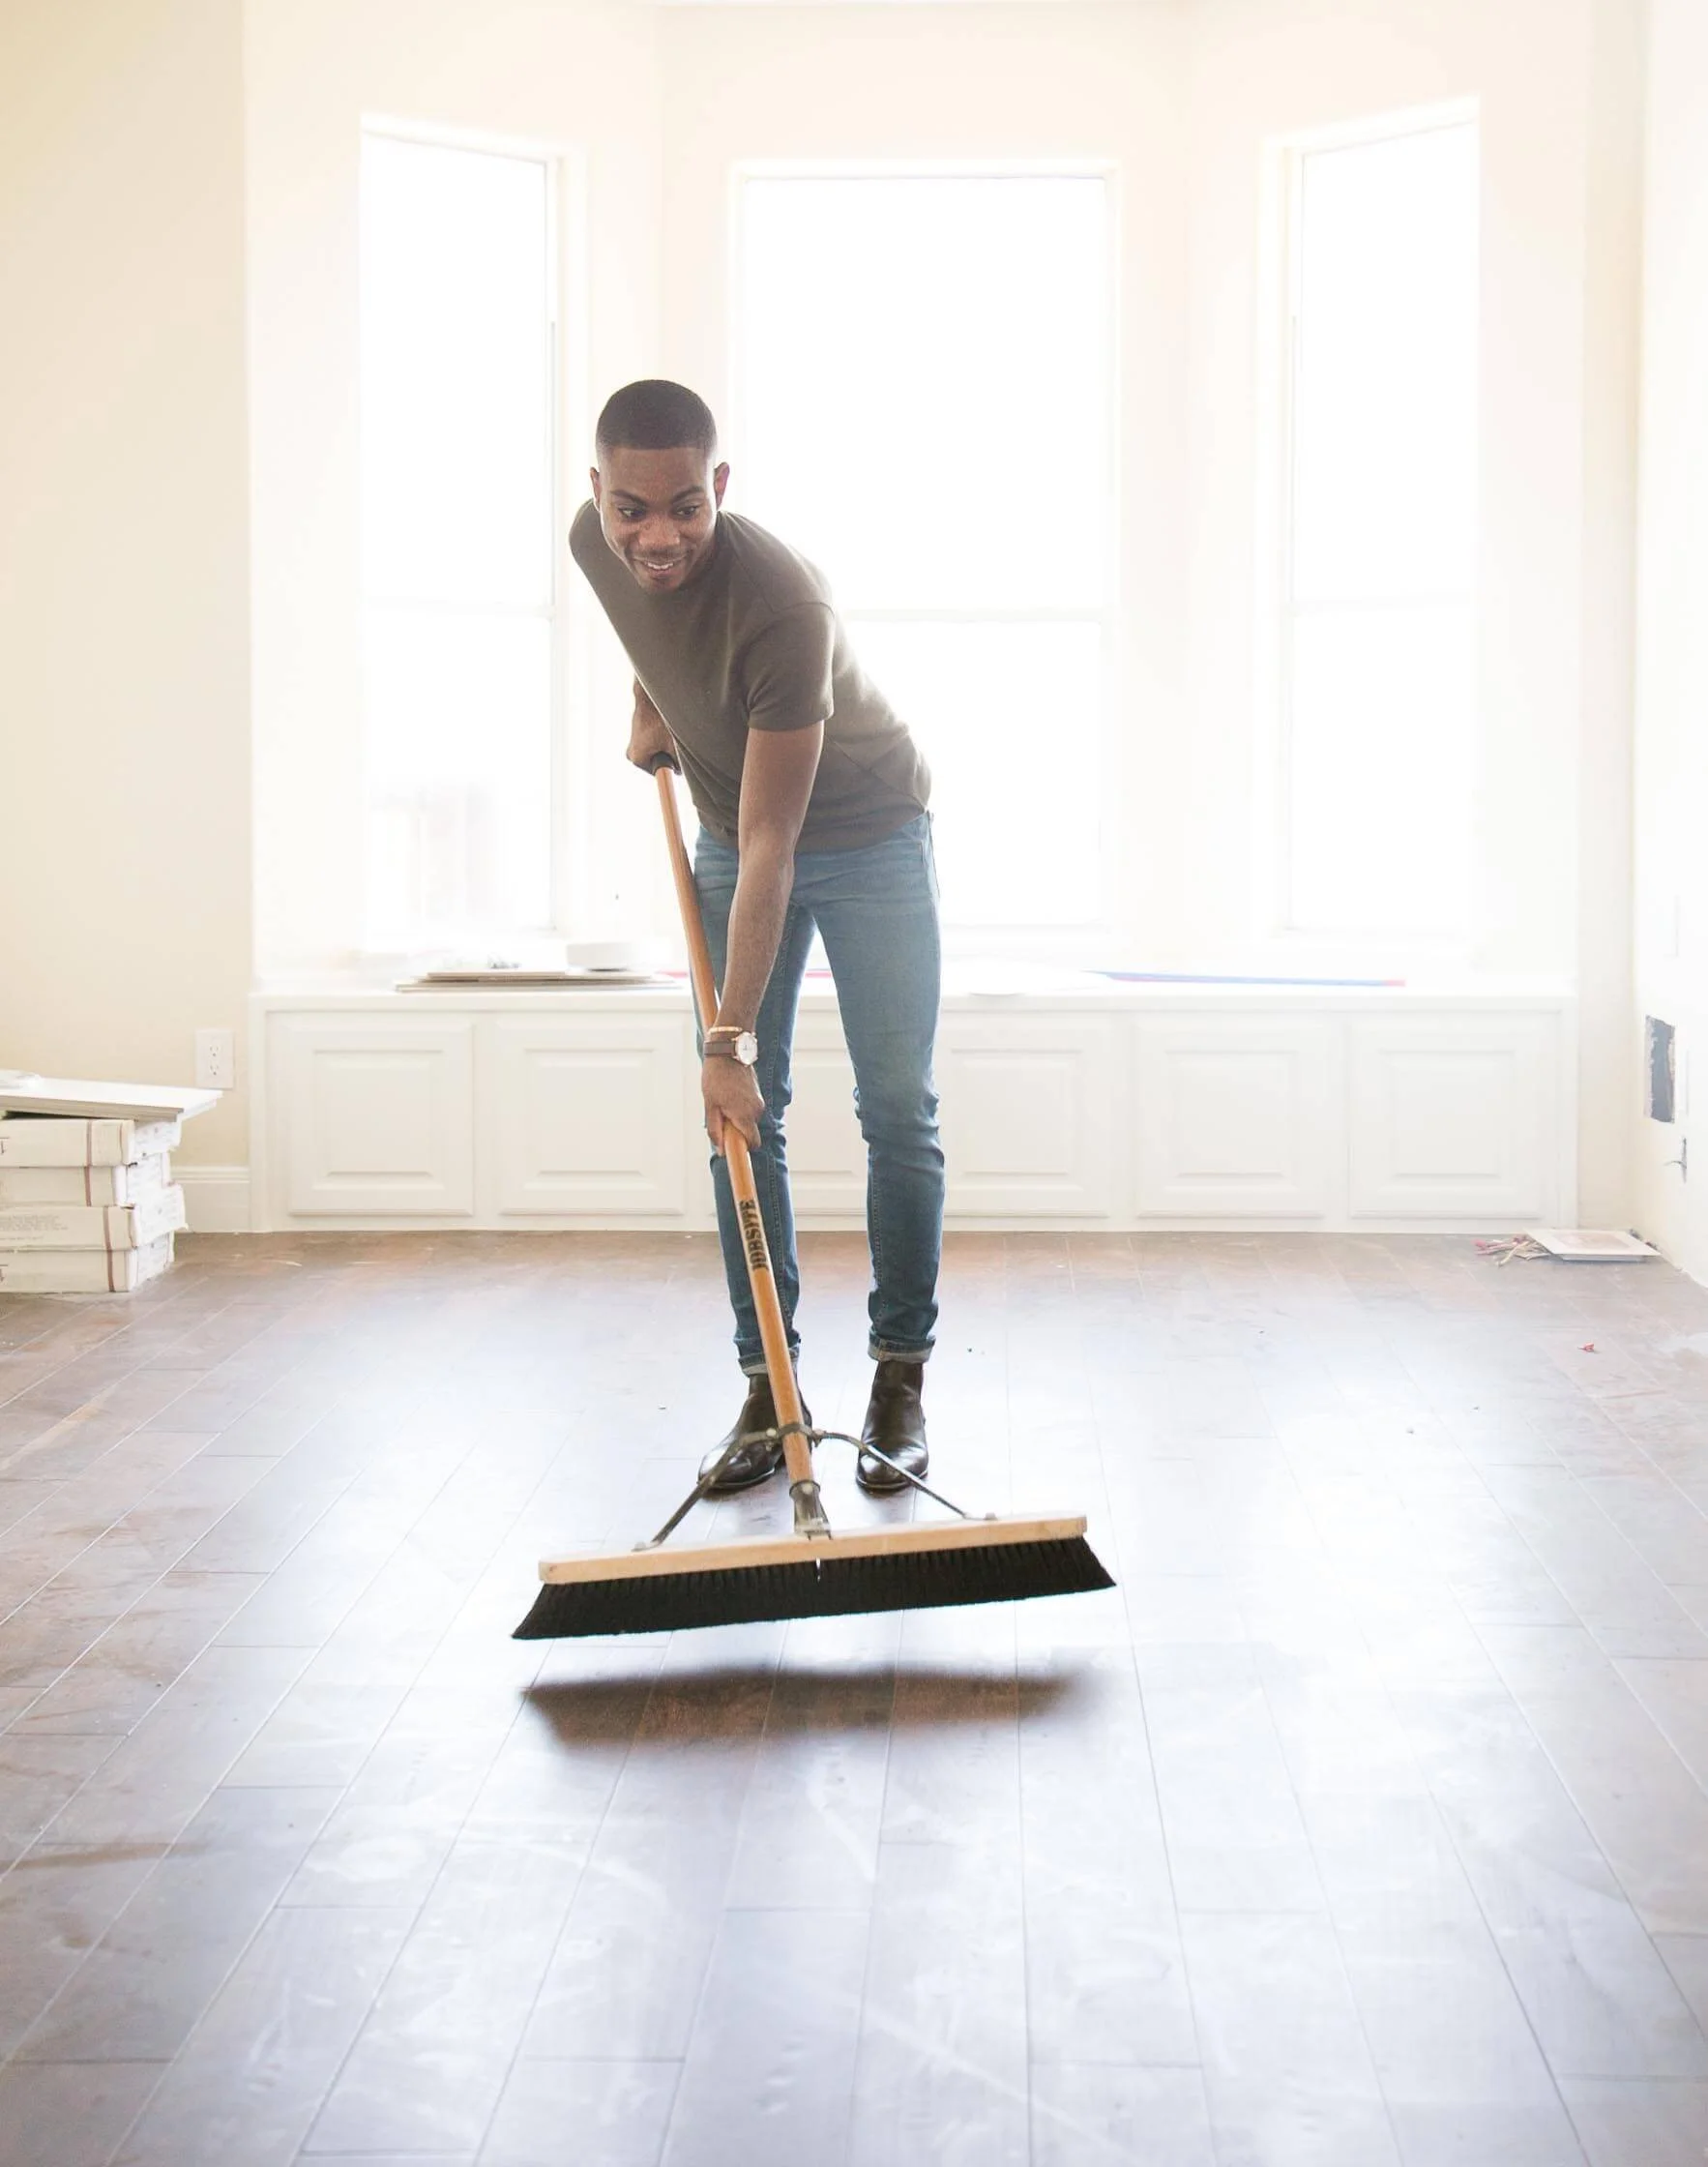
This also goes for things that might be getting in the way within your photo. If there are any unsightly cords, objects, or pieces of furniture that are killing your photographic buzz, get rid of ’em! And don’t worry about your documentarian integrity—editing out objects is one of photography’s dirty little secrets (even Civil War photographers moved cannon balls and dead bodies in their photos to create more dramatic compositions, ....no, seriously...).

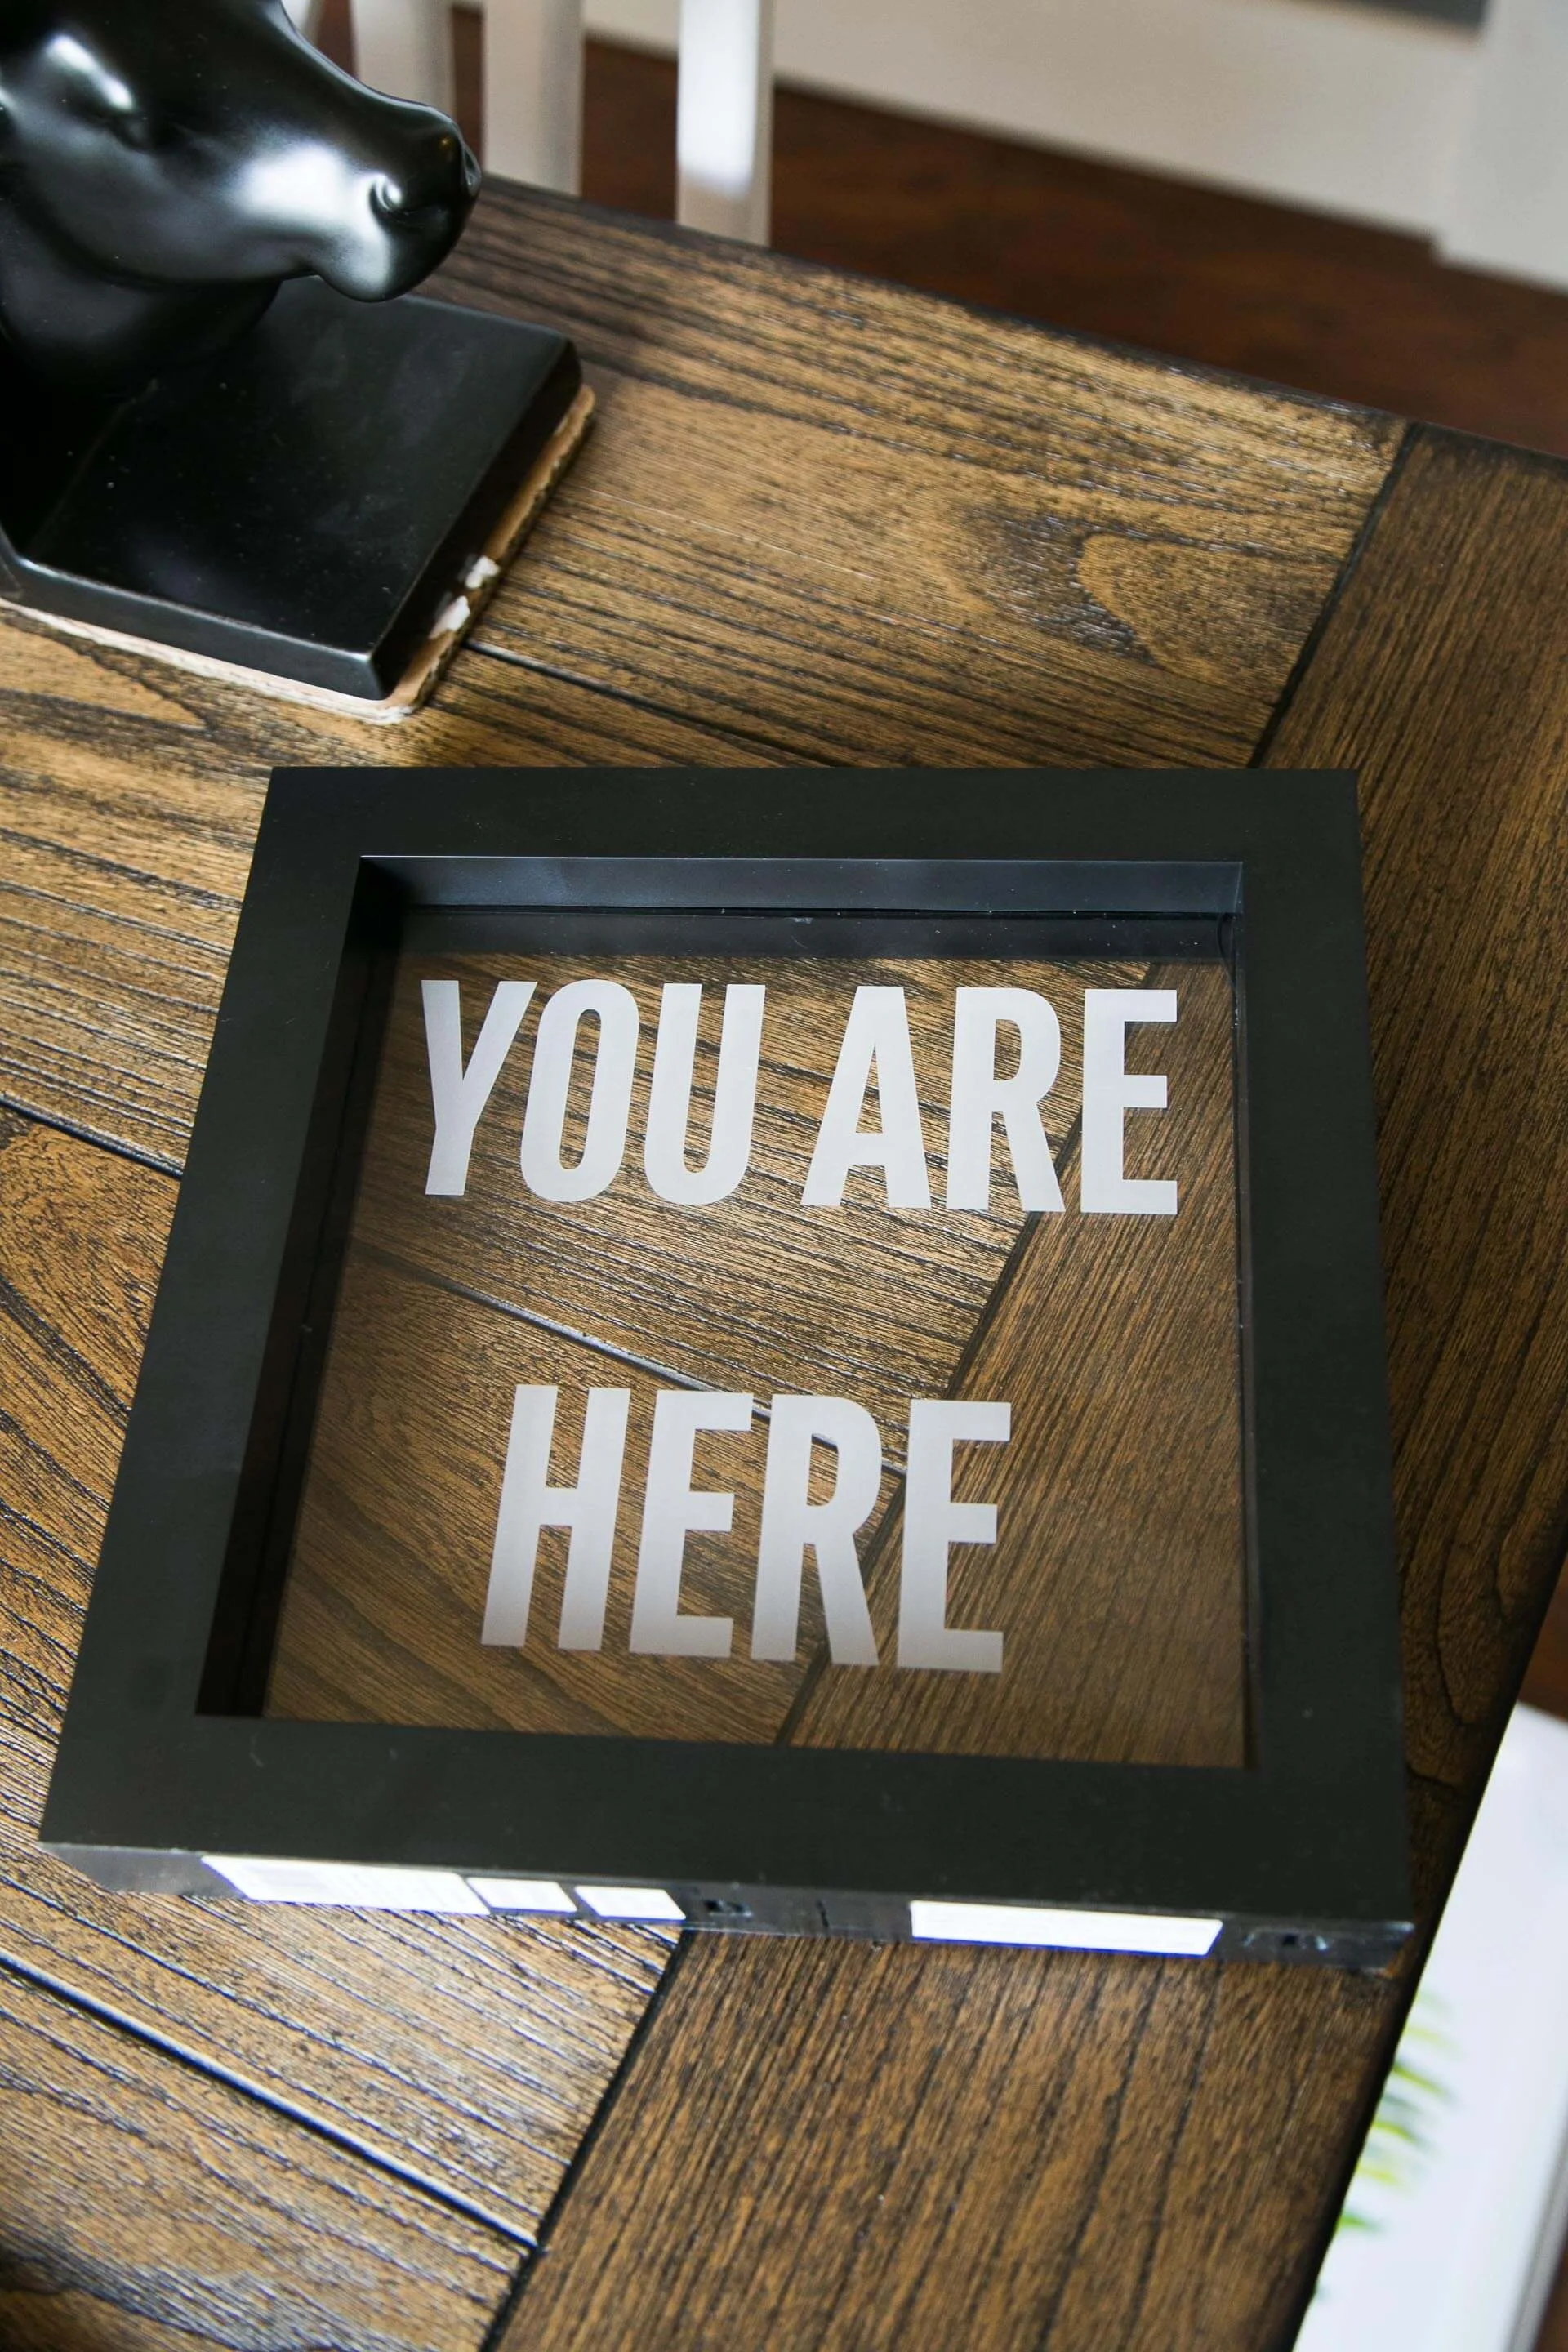
If you’re shooting close-ups or vignettes within your space, it is important to know how (and when) to use your aperture. Essentially the tool that controls the size of the hole light is allowed to come through, aperture is also responsible for controlling your camera’s depth of field. If you’re shooting a close-up of a vase, for example, and you want your background to be blurred out, the focus tool is just one half of what you will need to achieve that effect. The smaller your aperture number (or the wider the aperture hole), the shallower your depth of field. The larger your aperture number (or the tighter the aperture hole), the more in focus and sharp everything will be. To get a blurred background on your vase photo, then, you will want to shoot with a wider aperture, or the smallest f-stop your camera will allow. Conversely, if you’re shooting a wider space or an entire room, you want to make sure that your f-stop is cranked all the way up so that everything is in sharp focus.
Hopefully these tips will help you when photographing spaces.

Assignment: Shooting Interiors + Multipurpose Photos + Advertising Material
Location: Austin, Texas (2 Days)
Client: James Matthew Design - Residential, Retail & Commercial Interior Design


Interested in having VYRL Co. Design work your project? Tell me about it! Let's chat.